

An NCP file is a NovaStar cabinet library package that brings together the configuration and supporting data used by a compatible LED display cabinet. Its contents can include receiving-card firmware and factory-prepared image settings. Obtain the package for your exact cabinet and control system from the screen supplier, then follow the documented workflow for that hardware.
This guide helps AV integrators identify what to request before commissioning or servicing a screen. It explains the file’s role, the records to keep alongside it, and the checks that connect a package to a particular installation. Have the controller model, receiving-card model, software version and cabinet labels available when discussing compatibility.
1. What Does an NCP File Contain?
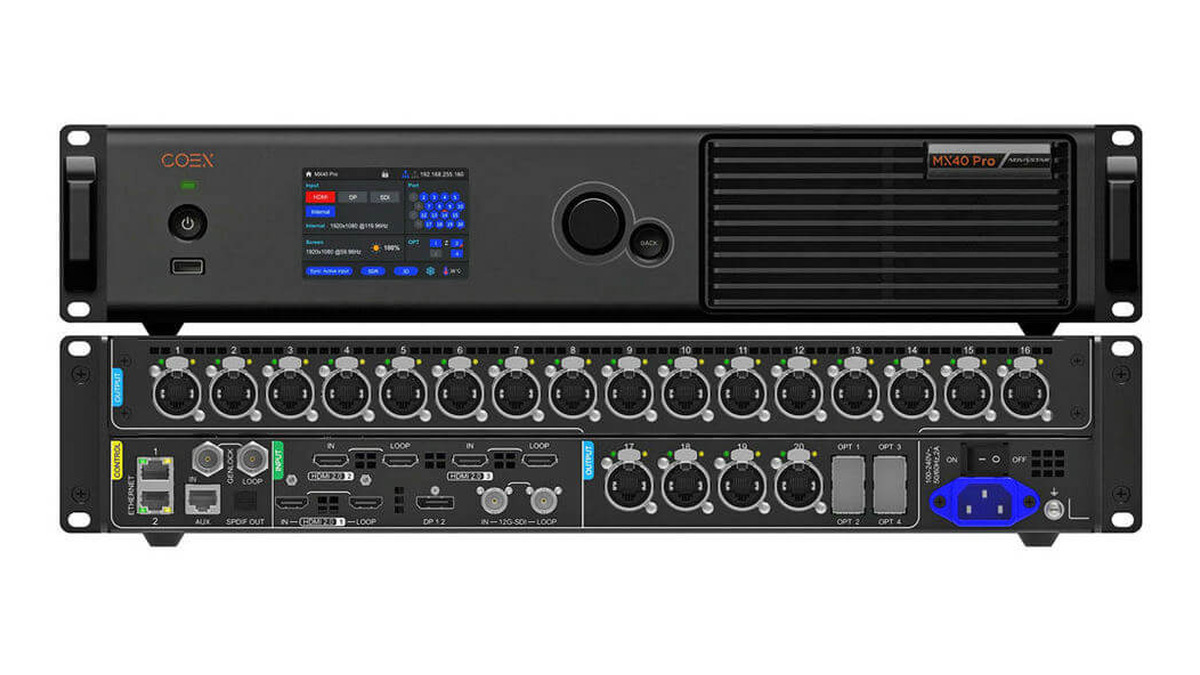
NovaStar’s COEX Solution NCP File Instruction Manual V1.0.1 describes a package combining cabinet configuration, receiving-card firmware, optical correction, frame-rate adaptation, display-mode parameters and thermal compensation. The available functions depend on the supported hardware and the data prepared for the cabinet.
For a purchasing or maintenance discussion, ask the supplier to identify the package revision and the functions included in that delivery. A project may need a particular operating mode, while another installation using similar cabinets has different requirements. Write those requirements into the equipment schedule so they remain available after commissioning.
Keep the original NCP file with the supplier’s delivery notes. If a revised package arrives later, record which cabinets it covers, the reason for the revision and the acceptance checks agreed for the change. A clear revision history helps an incoming technician identify the last accepted setup.
2. How Do the Configuration Files Fit Together?
The NCP file belongs to the cabinet configuration workflow. A service archive also needs the information that describes how the complete wall is assembled and connected. Use the following distinctions when reviewing a supplier’s handover folder.
| File or record | Role | Question for the supplier |
|---|---|---|
| .ncp | Cabinet library package with configuration and associated supported data | Which cabinet revision and operating modes does this package cover? |
| .rcfgx or .rcfg | Receiving-card configuration in supported NovaLCT workflows | Which receiver, module design and firmware were used? |
| .scr | Screen connection arrangement in the applicable workflow | Does the map match the installed output-port wiring? |
| System archive and project records | Supported system exports, version information, drawings and acceptance evidence | Which settings are included, and which require separate records? |
Keep each item in its original format. An extension change leaves the underlying contents as they were, so a renamed download cannot supply missing firmware or factory correction data. Ask for the required package through the supplier’s configuration process.
For conventional receiving-card profiles, use our RCFG and RCFGX file resource. For the wider recovery folder, follow our NovaLCT backup and restore guide. These resources address the related files that may accompany your project.
01. Separate cabinet identity from project layout
Record compatibility at two levels. The cabinet record identifies the receiver, module arrangement and approved package revision. The project record identifies where each cabinet sits and which controller output serves it. Keep those references together when requesting support, particularly after a wall has been moved or rebuilt.
Ask the supplier to mark the intended cabinet group against the supplied NCP file. Then compare that group with the physical labels before the service visit. If the inventory contains similar-looking units from several deliveries, photograph a representative label from every group and retain the serial-number list. This gives the supplier specific equipment identities to review.
3. Which Software Loads an NCP File?
The software path depends on the control system. NovaStar documents cabinet-package management in VMP for COEX systems and an NCP workflow in NovaLCT for supported receiving cards. Match the manual to the installed software and hardware before following a sequence of buttons.
In the NovaLCT Synchronous Control System User Manual V5.9.2, section 5.2.2.2 places the workflow under Screen Configuration, Receiving Card and NCP Management. It provides local loading and a cloud lookup using a file ID or order number. The operator selects the intended receiving cards when sending the package, then completes the hardware-save operation. Follow the version-specific instructions for the separate display-mode selection.
The NCP file should have an identifiable source and a confirmed destination. Before a service visit, ask which approved software release the supplier expects you to use and whether the package includes a firmware change. Arrange a working copy and a documented recovery plan for that exact combination.
The same V5.9.2 manual directs A10s Pro users to the NCP configuration section. Its Restore NCP instructions specify A8s Pro with firmware V1.2.0.0 or later. Confirm the recovery procedure for your own receiver model. The A10s Pro receiving-card guide provides related hardware context.

4. How Do You Request the Correct Package?
Request an NCP file using the cabinet’s documented identity. Prepare clear label photos and a short equipment list so the supplier can connect the request to the original manufacturing configuration. Include the job reference if the screen was supplied as part of a larger project.
- Cabinet identity. Record the model, serial numbers, production batch and any later module replacements.
- Receiving hardware. List the receiving-card model, firmware and hub-board identification.
- Module information. Include dimensions, pixel resolution, driver IC and the available factory specification.
- Control system. Identify the controller, software release and the operating mode required by the project.
- Service purpose. Explain whether the request concerns first commissioning, a replacement card, an image issue or a planned upgrade.
A useful reply should identify the applicable cabinet group, the package revision and the procedure for applying it. Ask the supplier to explain the expected change and the tests needed to accept it. Store that reply with the delivered package so the next operator can trace the decision.
Where a wall contains different cabinet types or revisions, maintain a position list for each group. For example, a hypothetical installation could contain a main wall and separately sourced side panels. Give those groups separate identifiers in your request and ask the supplier to confirm the package assignment for each one.
If the request follows a display fault, send a photograph or short recording with the affected cabinet positions marked. Record whether the problem appears on an internal test pattern, the normal input, or both. That gives support staff a reproducible observation to investigate before proposing a configuration change.
01. Work through a replacement-cabinet example
Consider a hypothetical rental wall with thirty cabinets from an original purchase and two replacement units delivered later. The replacement units have the same external dimensions, while their labels show a different hardware revision. The technician is preparing the wall for its next event.
Create two entries in the equipment list and identify the positions assigned to the replacement units. Send the original package reference, both cabinet revisions and the controller details to the supplier. Request confirmation of the approved file for each group, the required operating mode and the recovery procedure for the proposed change.
Once the supplier confirms the combination, arrange a test using the identified units and record the result. Photograph uniform fields and dark content under consistent settings, then review the event material. The completed record should let another technician trace each cabinet to its accepted package and understand any adjustments agreed during testing.
5. What Should You Verify Before Handover?
Agree an acceptance check before applying a revised NCP file. Give the responsible technician access to the current records and identify a suitable service window. Record the starting software and firmware versions so the completed change can be compared with the previous state.
Before the test, write down the screen’s intended use. A presentation wall may need small text to remain legible from the closest seats, while a filmed stage also needs review through the production cameras. Identify the test files, viewing positions, brightness setting and camera setup that the team will use. Agree who records the observations and who accepts the result. Where the supplier specifies a measurement or tolerance, keep that requirement with the test record. This gives the service team a repeatable basis for reviewing the display after a later repair or package revision.
A practical review uses several kinds of content. Inspect solid colors for visible differences, a grid for geometry and cabinet order, and dark material for low-level detail. Then play the customer’s actual content at the agreed operating brightness. For camera-facing installations, include the intended camera and recording settings.
Keep an observation sheet with cabinet identifiers, settings, photographs and the result of each check. Separate an unresolved symptom from an accepted result. If the image requires further work, send that evidence to the supplier with the exact package name and revision used during the test.
Include a controlled restart when the project owner approves it and the equipment instructions permit it. After the restart, confirm the expected image and settings. Finish by storing the accepted NCP file, the applicable project exports, the configuration map and the support contact together in the handover archive.
01. Build a handover folder another technician can use
Organize the archive around the installed screen and its accepted revision. Keep an original delivery folder, a working folder for the service visit and a dated folder for the accepted result. This recommended structure makes the history easier to follow when several people maintain the same display.
| Handover item | Information to record | Review question |
|---|---|---|
| Package register | Original filename, revision, supplier and receipt date | Can the next technician identify the approved delivery? |
| Cabinet assignment | Model, serial numbers, revision and screen positions | Which units belong to each configuration group? |
| Acceptance record | Test content, settings, observations and reviewer | What evidence supports the accepted result? |
| Recovery notes | Supplier-approved procedure and responsible contact | Who can guide recovery during the next service visit? |
Make a copy accessible to the authorized maintenance team before handover. Check that the filenames, drawings and notes remain readable on the computer that will travel to the site. Keep the NCP file with its assignment record so a detached attachment can be traced back to the correct screen.
02. Record an unexpected result clearly
If a cabinet displays unexpected colors, geometry or brightness after a change, record the exact stage at which the symptom appeared. Capture the package revision, selected destination, software message and affected positions. Include an image of the test pattern and a reference photograph from the accepted setup where available.
Keep subsequent adjustments identifiable. Give each agreed test a short record describing the changed setting and the observed result. Share that record with the supplier when requesting the next action. A sequence of documented observations helps support staff separate a package-selection issue from a mapping, source or hardware issue and keeps the recovery discussion specific.
6. NCP File FAQs
01. Where can I get the correct NCP file?
Contact the supplier of the LED cabinets with their model, batch and receiving-card details. Ask for an identified package revision and the supported application procedure. Keep the supplier’s compatibility confirmation in the project folder.
02. What should I do if the cloud lookup returns several packages?
Match the file ID, order reference and revision with the supplier’s written instructions. If more than one candidate remains, send the displayed identifiers to support and obtain a specific selection before applying a package.
03. Should I replace a working package whenever a newer revision arrives?
Review the revision’s purpose, affected cabinet group and required firmware with the supplier. Schedule the change around the project’s operating needs, retain the accepted archive and agree on the tests that will establish a successful update.
04. What if a replacement cabinet has a different revision?
Give the supplier the replacement and original labels, along with the position of the cabinet in the wall. Request written guidance on the appropriate package, image matching and any separate configuration needed for that unit.
7. Get Configuration Support for Your Screen
If you need an NCP file for an EagerLED display, send the screen model, cabinet labels, receiving-card details and controller information with your request. For a new purchase, include the required operating modes and the configuration documents you need at handover. Contact EagerLED with your screen details so the team can review the relevant hardware and support requirements.