

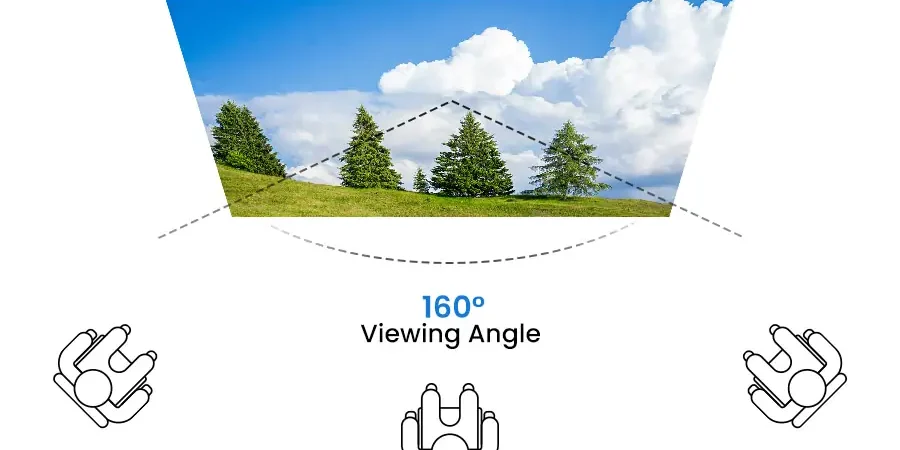
LED screen viewing angle describes how a display looks when the observer moves away from a position directly in front of it. For a venue buyer, the useful question is whether people in the actual side and elevated seats can read the required content with acceptable brightness and color. A wide angle printed on a datasheet does not, by itself, answer that question.
This guide is for venue procurement managers evaluating a sample before approving an indoor auditorium or multipurpose-room display. It turns a seating plan into a repeatable demonstration, separates optical performance from blocked sightlines, and explains what to record in the purchase specification. The proposed checks are a procurement method, not a claim that any particular room or cabinet has passed them.
Start with the audience tasks: reading captions, following presentation labels, or recognizing faces. Agree on those tasks before comparing cabinets. Otherwise, a supplier can demonstrate attractive video from a favorable position while the people at the room’s edges still struggle with everyday material.
1. What an LED screen viewing angle specification means
Ask the supplier to define the quoted angle before using it in a comparison. Is it the complete span between two limits, or the deviation on each side of the perpendicular direction? Are horizontal and vertical results separate? Which brightness, contrast, or color criterion defines the boundary? Without those answers, two similar numbers may describe different measurements.
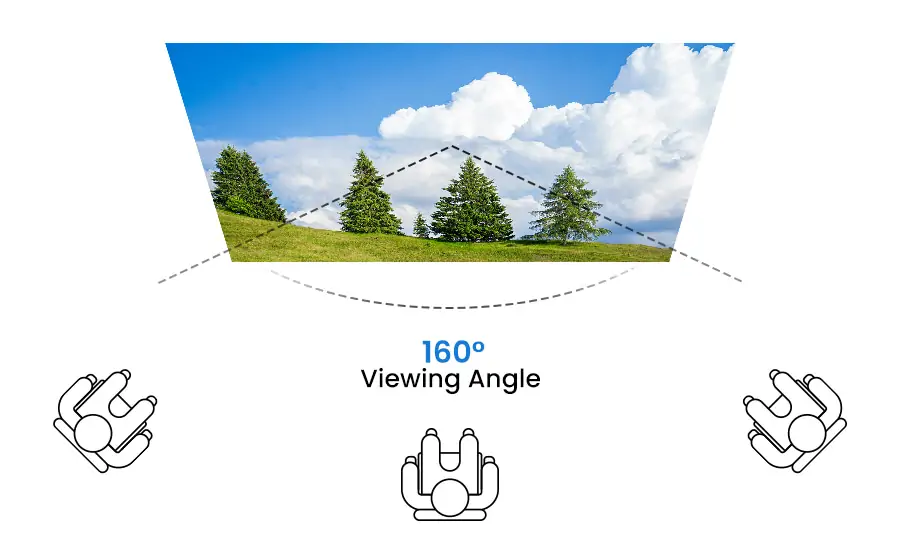
A hypothetical symmetric horizontal span of 160 degrees corresponds to 80 degrees on either side of the center direction. That arithmetic describes the stated geometry only. It does not promise unchanged appearance at those limits, establish a comfortable seating position, or prove that small text remains readable. Request the underlying measurement conditions and the proposed configuration’s data.
Konica Minolta’s display-measurement guidance treats luminance, color, and contrast as distinct characteristics that change with viewing direction. This is why an LED screen viewing angle review should examine several properties instead of using a single maximum-angle badge. Instrument readings and a practical audience demonstration answer related but different questions.
01. Keep distance, sightline, and optical angle separate
Distance describes how far the observer is from the display. A sightline describes whether the observer can see the required portion of the screen without obstruction. Optical angle concerns the direction from which the emitting surface is observed. A seat can have an unobstructed view yet show color changes; another can have good optical alignment but a railing across the captions.
Pixel pitch affects the spacing of image elements and the resolution available at a given wall size. It does not independently establish the acceptable LED screen viewing angle. Likewise, buying a larger screen may enlarge text but leave an extreme side position poorly served. Decide which problem needs solving before changing the specification.
02. Treat product figures as configuration-specific
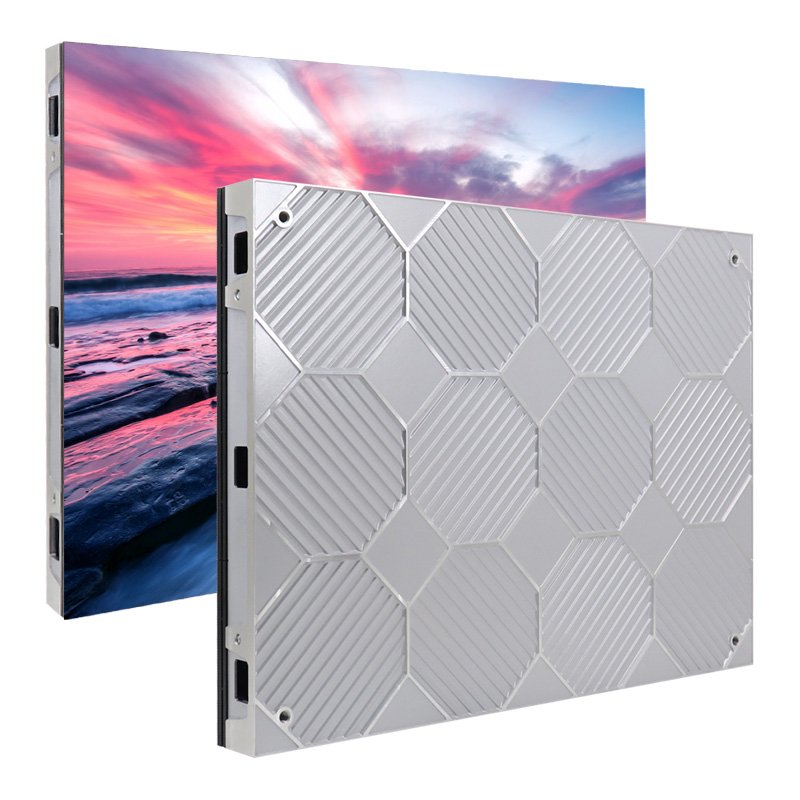
The EA640F2 indoor cabinet page lists a viewing-angle figure and describes its front-service design. Use that product information to request a matching sample and an explanation of the quoted measurement. Do not transfer an angle from another cabinet family, LED package, or marketing illustration to the proposed bill of materials.
Record the exact sample identity alongside the quotation revision. If the supplier offers a different package, mask, surface treatment, or pitch after approval, ask whether the optical evidence still applies. A familiar series name is insufficient when the emitting components or surface construction have changed.
2. Map the seating plan to meaningful test positions
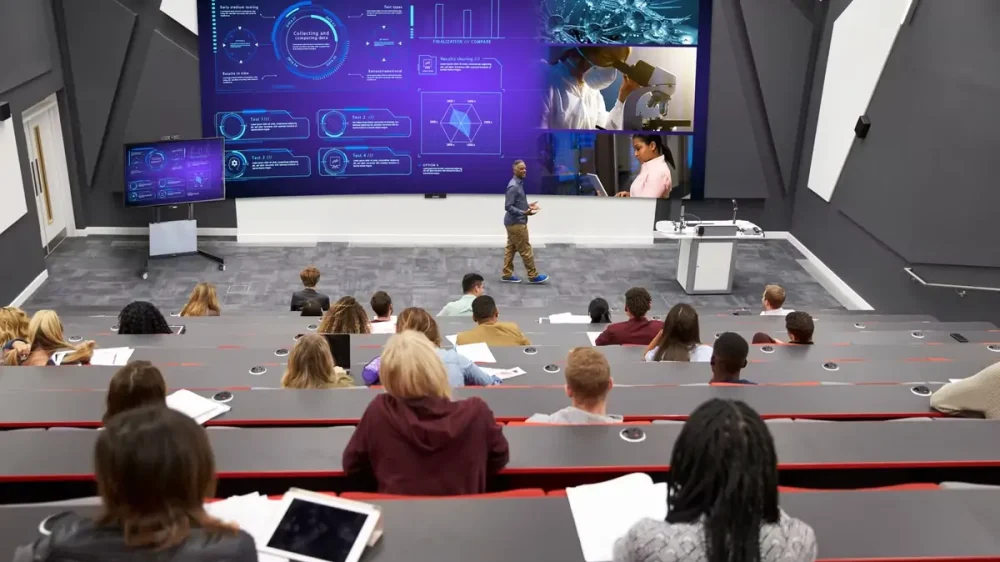
Build the LED screen viewing angle test around occupied positions, including accessible seating and normal alternative room layouts. Mark the screen plane, active image boundaries, seat locations, and approximate seated eye heights on a plan and section. The most demanding seat is not always the farthest one: a nearby end seat can face the image at a much sharper angle.
Choose positions for a reason. Include a central reference, the left and right limits of the occupied area, a near-side position, an elevated or balcony position, and a rear seat where text is smallest. Add seats behind likely obstructions. For a multipurpose room, repeat the review for the layouts actually sold or used, rather than assuming the theater arrangement covers banquet seating.
01. Use geometry to select positions, not to certify performance
For an initial flat-screen plan, the horizontal off-axis direction to a selected screen point can be estimated as arctan(lateral offset divided by perpendicular distance from the screen plane). State which point is being evaluated. The direction to the center differs from the direction to the nearer and farther edges of a large display.
As an illustrative calculation, a seat 6 m (19.7 ft) to the side of the centerline and 8 m (26.2 ft) in front of the screen plane has a center-point direction of about 37 degrees. This is a survey input, not a pass mark. Repeat the geometry for vertical height differences and review the combined oblique direction where a side seat is also elevated.
A tilted or curved display needs a different geometric review because its local surface directions change. Have the project designer relate the audience positions to each relevant surface. Do not use a flat-wall center-point calculation to claim coverage for a curve, corner, or screen mounted above a steep seating bank.
| Position | What it can reveal | Evidence to record |
|---|---|---|
| Central reference seat | Baseline appearance and source quality | Content file, brightness mode, and reference observations |
| Closest occupied side seat | Strong oblique view and apparent image compression | Readability of edge labels and full image visibility |
| Opposite side limit | Asymmetry hidden by testing only one side | Same content and settings as the first side |
| Upper tier or balcony | Vertical and combined angular changes | Eye height, viewing direction, and lower-image visibility |
| Rear audience limit | Insufficient character size despite favorable angle | Smallest required text and actual reading task |
| Accessible seating area | Obstructions and eye-height differences | Full caption area and relevant event layout |
Keep the LED screen viewing angle assessment separate from structural design and audience circulation approvals. Moving a display to improve one seat may affect mounting, service access, exits, or other seats. Any physical change should go back through the project’s responsible designers before the revised layout is accepted.
3. Prepare a sample that supports a fair comparison
An LED screen viewing angle demonstration is useful only when the sample represents the proposed equipment. Request the cabinet and module identifiers, pitch, surface construction, control configuration, calibration status, and operating brightness. Record any differences from the quotation before the session begins. If a substitute sample is used, identify which conclusions remain provisional.
A small sample can help compare directional brightness or color behavior. It cannot reproduce the apparent width, text size, seams, and audience coverage of a full wall. Agree which findings will be checked again on a representative assembly and which require the installed system. Avoid treating a favorable single-module demonstration as complete venue acceptance.
01. Freeze the comparison conditions
Use the same content files and source settings for each candidate. Establish the intended room-lighting scene, then set a realistic operating brightness rather than automatically selecting maximum output. Let the supplier bring the system to its stated stable operating condition. Note the warm-up procedure instead of inventing one universal duration for every product.
When assessing LED screen viewing angle, preserve a reference setting while moving between positions. If someone changes brightness, white balance, scaling, or the content during the walk-through, label that as a new test. Otherwise, the team may mistake a setting change for an improvement caused by the cabinet itself.
02. Keep the optical surface and assembly representative
Inspect module orientation and cabinet alignment before comparing side views. Record visible surface damage, contamination, or inconsistent replacement modules. These conditions can complicate a visual comparison and should be resolved or documented. Ask the supplier to explain any assembly feature that differs between the sample and the delivered wall.
The EA640F2 is one possible reference for a fixed indoor installation, with magnetic modules and front service described on its product page. Those maintenance features explain access; they do not replace optical testing. Keep the service plan and the LED screen viewing angle acceptance sheet as separate parts of the procurement package.
4. Evaluate brightness, color, and readable information
Use a small, controlled content set with a specific purpose for each image. White and neutral gray fields make brightness and tint changes easier to compare. Skin tones and the venue’s important brand colors reveal changes that a highly saturated demonstration reel may conceal. Actual presentation labels, captions, and diagrams test the audience’s working task.
Ask observers to describe the problem rather than merely rate the display as good or bad. Is the white field darker, is neutral gray visibly tinted, are characters compressed, or is the lower line obstructed? The correction depends on the symptom. An LED screen viewing angle report should preserve those distinctions so an installer does not try to fix a physical obstruction with display settings.
01. Separate visual observations from measurements
Human inspection establishes whether selected content works for the intended audience. Quantitative claims about luminance retention or color difference need a defined measurement method and suitable calibrated instruments. Konica Minolta describes angle-dependent measurement systems for luminance, contrast, and color; an ordinary phone photograph is not an equivalent instrument report.
If numerical limits are required, agree on the instrument, target area, viewing direction, ambient conditions, reference reading, and calculation before testing. Ask the measurement provider to explain uncertainty and repeatability. Do not copy a threshold from an unrelated display technology or a different project simply because it produces a convenient pass/fail number.
Photographs remain useful as location and symptom records. Hold exposure and white balance consistent where the camera supports it, retain the original files, and note that capture and playback can alter appearance. Compare the wall directly as well. A photo that looks acceptable on a laptop cannot establish the LED screen viewing angle experienced by the audience.
02. Test text at its delivered scale
Use the exact slide or caption layout at the planned pixel dimensions and scaling. Ask observers at the selected seats to read representative labels without moving closer. Include both bright and dark backgrounds and the smallest text the project actually requires. An oversized demonstration headline is not a substitute for the finance chart or translated caption used during a real event.
Where readability fails but color and brightness remain acceptable, review content scale, screen size, resolution, and position before blaming angular performance. EagerLED’s conference display guide provides the wider room-selection context. This test focuses on whether the chosen content reaches the edge seats under the agreed conditions.
5. Turn the demonstration into an acceptance record
Write the LED screen viewing angle acceptance record so another person can repeat the test. Include a revision-controlled seating plan, sample identification, settings, content filenames, observation positions, and agreed criteria. Record the actual result at each position, including exceptions. A single statement that the screen looked good loses the information needed to resolve a later disagreement.
| Record | Required detail | Follow-up if incomplete |
|---|---|---|
| Equipment identity | Cabinet, module, surface, and configuration revision | Supplier confirms equivalence before accepting substitution |
| Room conditions | Lighting scene, screen position, seating layout | Venue provides a repeatable condition or marks approval provisional |
| Content task | File version, text size, scaling, and required reading task | Content owner supplies realistic material before sign-off |
| Visual finding | Position, affected image region, and observed symptom | Integrator proposes a correction and identifies affected seats |
| Measured criterion | Instrument method, reference, limit, and actual result | Measurement provider resolves missing conditions or uncertainty |
| Final approval | Decision owner, exceptions, retest scope, and date | Purchasing keeps unresolved requirements open |
For example, an acceptance note can require the supplied caption file to remain readable from named positions under the agreed lighting scene, with angular color and luminance criteria attached separately where needed. This is a suggested documentation structure, not a universal contract clause. Have the project team define the actual requirements and approval authority.
If the sample fails, change one relevant variable and retest the affected positions. Possible design responses include revising screen orientation, increasing content size, changing the proposed optical configuration, or adding appropriate coverage. Do not approve a correction that helps the left edge while making the right edge worse. Preserve the before-and-after records.
Repeat the agreed LED screen viewing angle checks after installation and after any material substitution. The sample approval is a baseline for that comparison. A final record should distinguish accepted results, unresolved items, and limitations of the sample rather than silently treating every observation as a full-wall guarantee.
Give each unresolved observation an owner and a clear closure condition. For instance, the content team might supply a larger caption layout, the integrator might revise the mounting proposal, and the supplier might provide angular measurement data for the exact module. These are different actions with different evidence. Do not close the entire item simply because one participant has sent an email saying the issue is resolved.
Include the people who will operate the room in the final walk-through. They can confirm whether the tested lighting scenes and content layouts are practical during normal events. If the accepted LED screen viewing angle depends on restricting seats or using a particular presentation format, document that operational limit visibly in the handover material. Purchasing should know about the restriction before acceptance, and event staff should be able to find it without searching through a supplier’s technical correspondence.
Frequently asked questions
Can a center-seat camera prove acceptable side-seat performance?
No. A centered recording documents one capture direction and camera setup. It cannot show what an observer sees from a different seat. Record the relevant positions and assess the display directly; use calibrated measurements when numerical optical claims are part of acceptance.
Should a room with several seating layouts have one approval?
One document can cover several layouts, but it should identify the positions tested in each. A layout added later may put viewers outside the evaluated area. Keep that layout provisional until the responsible team reviews its sightlines and presentation tasks.
Can we approve a curved wall using a flat sample?
A flat sample can inform a component comparison, but it does not reproduce the changing surface directions of the curved installation. Request a geometry review and an appropriate assembled demonstration or final installation test before accepting the overall coverage.
What if the supplier will not explain the angle measurement?
Mark the figure as unsupported for comparison and request a documented demonstration against your project criteria. Do not invent a measurement definition on the supplier’s behalf. Decide whether the remaining evidence is sufficient before purchase approval.
Do replacement modules need another side-view check?
Check the repaired area against the accepted baseline, especially if the replacement differs in optical construction or calibration. Retain its identification and service record. The extent of retesting should follow the change and the project’s agreed maintenance procedure.
Prepare Your Venue Test Brief
Send EagerLED a seating plan and section, proposed active screen dimensions, relevant room layouts, lighting conditions, and representative content. Identify the seats where failure would have the greatest effect, together with any quantitative measurement requirements. These inputs make an LED screen viewing angle demonstration specific enough to support a buying decision.
Discuss your venue and sample-test requirements with EagerLED before approving the final configuration. Ask for a documented sample identity, the definition behind its angle specification, and a repeatable acceptance plan for the delivered wall.