

An LED display warranty is useful to an AV integrator only when the written terms identify the covered parts, the claim procedure, and who pays for labor, travel, and freight. A two-year statement on its own cannot tell you how quickly a failed cabinet will be restored or what a claim will cost your team.
This guide is for an integrator comparing direct-view LED suppliers before signing a project purchase order. It turns the LED display warranty into a practical handover plan: identify each component, document the acceptance baseline, price the service work, and preserve the files and spares needed for a matching repair.
EagerLED’s published service and warranty policy describes eligible manufacturing-defect maintenance, replacement power supplies and receiving cards for eligible failures reported within two years, and one-way shipping for approved service. Your actual product quotation and signed terms should resolve coverage for the specific cabinet, modules, controller, freight route, and installation. The checks below apply to that project document, not to an assumed universal warranty.
1. Map the LED Display Warranty by Component
First ask whether the LED display warranty applies to a complete installed system or only specified factory parts. An LED wall is an assembly of modules, cabinets, power supplies, receiving cards, cables, controllers, mounting hardware, and software settings. A failure in any one part can interrupt the image, yet the remedy can differ by part and by seller.
01. List every line item in the delivered bill of materials
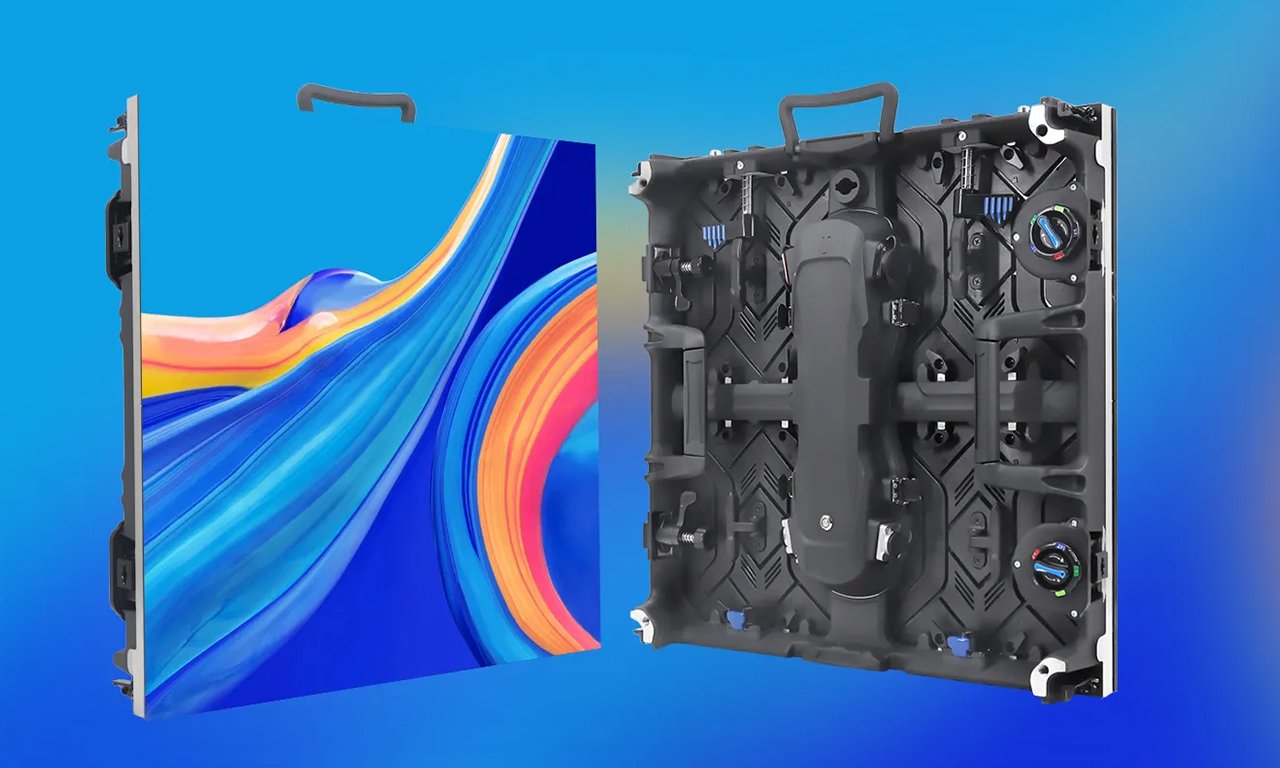
Request an LED display warranty schedule that uses the same model numbers and quantities as the quotation. Include spare modules and any replacement stock purchased with the wall. A controller supplied by a separate vendor may have its own support terms; a structural frame built by the local installer may be outside the display manufacturer’s scope. Record the responsible company for each item before you promise a single point of service to your customer.
EagerLED’s public policy specifically identifies power supplies and receiving cards for eligible no-part-charge replacement within two years. It does not, by that statement alone, establish an identical period or remedy for every module, controller, connector, cabinet finish, or installation component. Ask for the applicable terms for your chosen product line in writing. If a proposal says “full screen warranty,” require a component list that gives that phrase a testable meaning.
02. Separate a defect from its remedy
A covered manufacturing defect can lead to diagnosis, repair, a part replacement, or another remedy specified in the contract. “Covered” does not automatically mean an advance replacement, an on-site technician, or reimbursement for lifting equipment. For each component, ask who decides whether a part is defective, whether a replacement is new or functionally equivalent, and whether the supplier needs the old part returned. Confirm how a repaired or replacement part’s remaining coverage is calculated.
The distinction matters most when a receiving card or power supply is inexpensive compared with the cost of opening a wall. An LED display warranty that provides the part but leaves every site visit to the integrator may still be appropriate, provided the integrator has priced that service commitment to the end customer.
2. Define the Warranty Clock and Acceptance Point
The start event can change the useful period of an LED display warranty. Possible triggers include factory shipment, delivery, commissioning, or signed acceptance. None should be assumed. Put the agreed event, date evidence, and any outside deadline in the purchase order. For an overseas project, freight, customs, storage, and building readiness can separate shipment from first use by weeks or months.
01. Document what “commissioned” means
If coverage begins at commissioning, specify the acceptance test and the party authorized to sign it. Record the installed cabinet map, input sources, displayed content, brightness setting, and visible condition. Agree how open punch-list items are handled: a cosmetic defect identified at handover should not disappear into an undefined later support claim. Preserve dated photos and the signed acceptance record in the project folder.
Do not confuse the LED display warranty start date with the deadline for reporting delivery damage. Transport claims may have a separate process and shorter notice window under the applicable shipping agreement. Inspect packaging, serial labels, cabinet corners, and power/data connectors on receipt. Photograph damage before unpacking is complete and notify the agreed contact through the documented route.
02. Record serial numbers and configuration identity
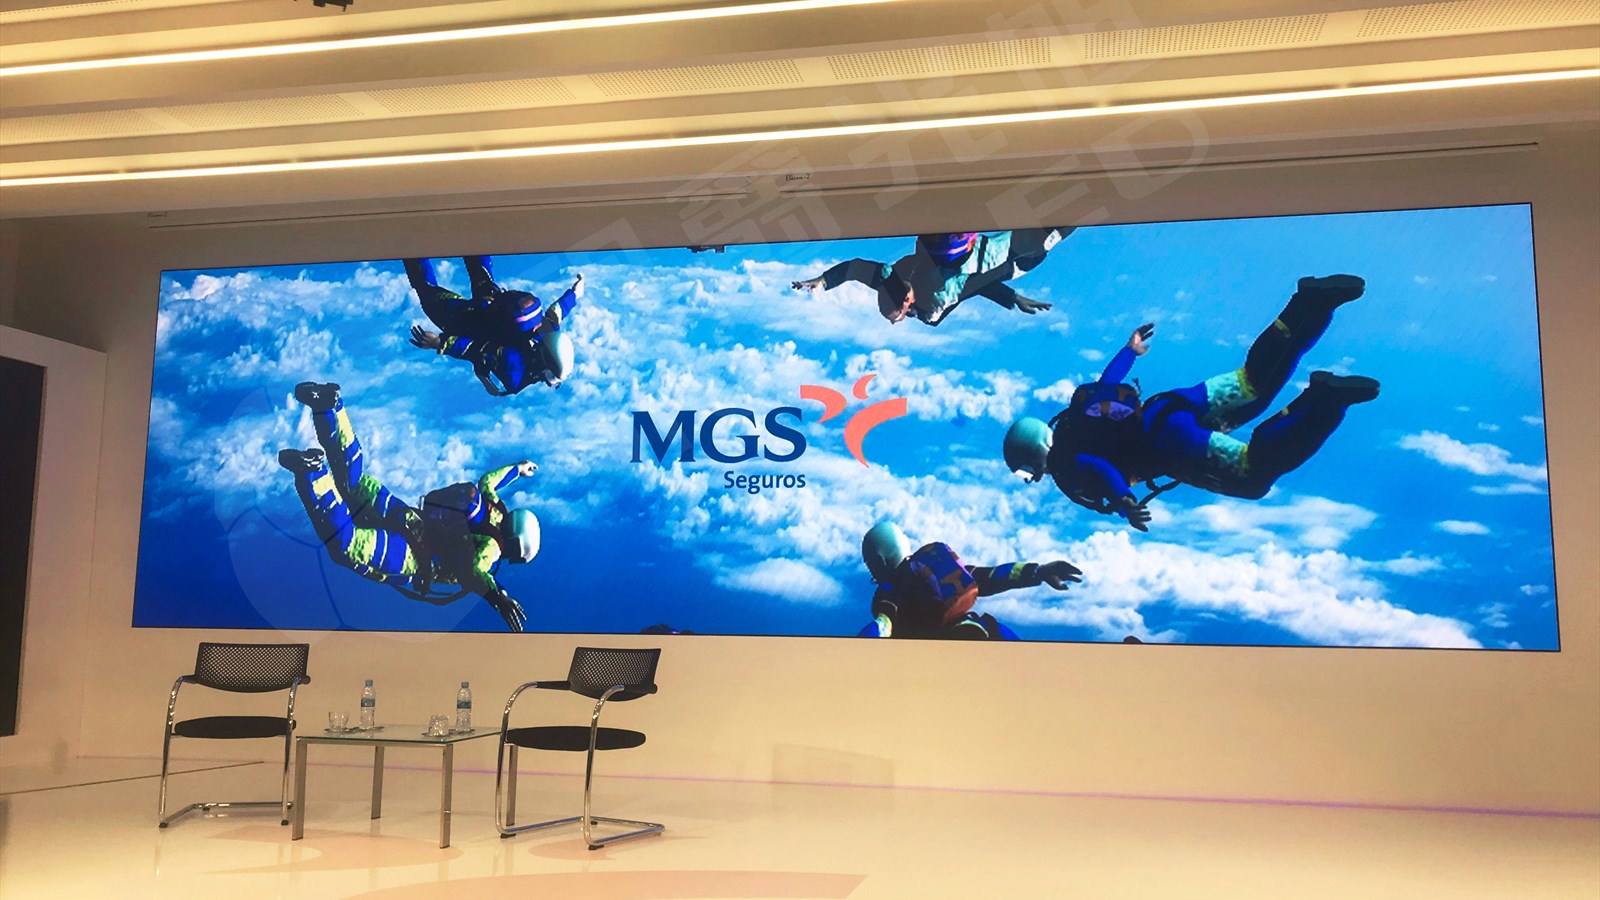
Map each cabinet’s serial number to its location. Retain the module specification, receiving-card model, firmware version, approved cabinet configuration file, and calibration data where supplied. These records help a technician determine whether a later dark area is a hardware fault, a connection problem, or a changed setting. EagerLED’s published policy excludes claims with missing, invalid, altered, or damaged serial or sealing labels, so protect those identifiers during installation and maintenance.
For a complex wall, ask the supplier how service history is tied to serial numbers after a cabinet or module swap. The same record should tell your crew which spare fits each position. The LED display spare-parts planning guide explains why matching modules and configuration files are operational requirements, not just inventory details.
3. Allocate Labor, Freight, and Downtime
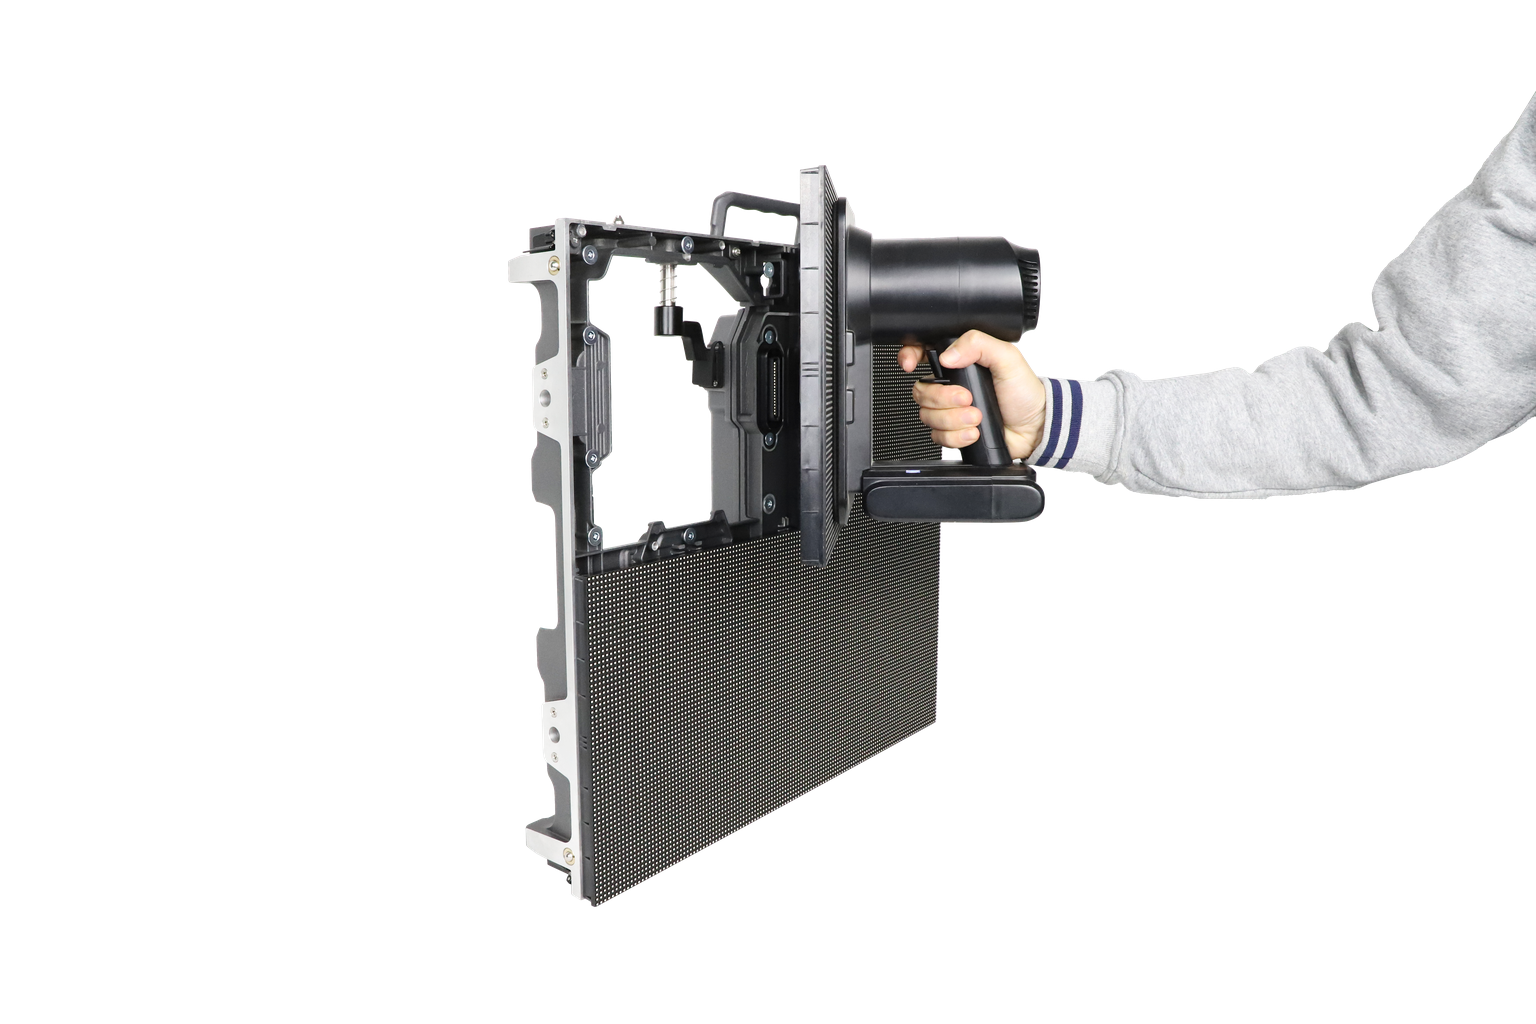
For many integrators, the real cost of an LED display warranty claim is the service trip. Clarify the physical task required to reach the failed part. A front-service module can be replaced from the viewing side if the specified cabinet supports that access; a rear-service design needs clearance behind the wall. Neither arrangement tells you who pays the technician or access equipment.
01. Price the complete repair path
Write down the sequence: remote diagnosis, permission to open the wall, part dispatch, site attendance, swap, image check, and defective-part return. Assign each cost to the supplier, integrator, venue, or end customer. Include international freight, customs handling, expedited shipping, local labor, travel, lift hire, and recommissioning when they apply. Use the actual quotation and delivery terms rather than assuming that “free replacement” covers these charges.
EagerLED states that it covers one-way shipping for approved warranty service and that return or onward shipping is confirmed with its service team before dispatch. That is a useful starting point, but your LED display warranty schedule should identify the particular route and payer for your country and project. A distributor’s local replacement stock may offer a different response from a factory shipment; confirm both the promised stock location and the claim approval process.
| Claim step | Question for the written offer | Project record to retain |
|---|---|---|
| Remote diagnosis | Is technical support included, and during which hours? | Support contact, case number, and response channel |
| Replacement part | Is it supplied without a part charge after approval? | Part number, serial number, and approval |
| Outbound and return freight | Who pays each direction, customs, and expedited service? | Agreed shipping terms and tracking |
| On-site labor and equipment | Who pays the crew, travel, access lift, and recommissioning? | Service quotation and site access plan |
| Interim operation | Is an advance spare available while the claim is assessed? | Spare location and authorization to install it |
02. Treat response time as a defined service level
Ask what “response” means: acknowledgment, remote diagnosis, dispatch, or restored image. Specify the time zone, working days, required evidence, and whether the clock pauses while the buyer supplies information. Avoid turning an informal sales promise into a guaranteed restoration deadline. If a venue cannot tolerate a dark cabinet during an event, keep verified spare modules and an authorized technician available locally. The spare strategy is a project design choice, not a hidden feature of the LED display warranty.
4. Agree on Pixel Defects and Visual Matching
A pixel policy should be part of the LED display warranty only after the supplier defines how defects are counted and when they trigger a remedy. A direct-view LED pixel contains light-emitting elements, while a cabinet contains many modules. “Zero dead pixels” is ambiguous without an inspection method, the viewing distance, a timeframe, and a remedy. Do not borrow an LCD monitor pixel standard and assume it applies to a modular LED wall.
01. Define the acceptance test before delivery
Specify whether bright, dark, intermittent, and color-incorrect pixels are treated separately. Agree on the solid-color and gray test patterns, brightness level, inspection distance, and test duration. State whether a threshold applies per module, cabinet, or total display area, and whether a cluster of defects is treated differently from isolated points. The signed test record gives both teams a baseline for later claims.
Check the outcome if a panel fails the test: repair the affected pixels, replace a module, or reject a cabinet before acceptance. That decision should not depend on someone interpreting a marketing phrase during installation. For diagnosis after handover, EagerLED’s COB display repair guide illustrates why the symptom and the approved repair method need to be separated; do not assume an on-site fix is safe for every package type.

02. Ask how replacement modules will match
A repaired wall must look acceptable as a whole. Replacement stock can differ in LED batch, brightness, color, surface finish, or calibration state. Ask whether matching spare modules are supplied with the project and how long compatible parts are expected to remain available. Obtain the calibration backup and written instructions for restoring a replacement position. If color matching is not guaranteed, understand the tolerance and service process before you make a visual uniformity promise to your customer.
The LED display warranty should distinguish a failed part from normal aging and from a visual difference caused by an unmatched replacement. Ask which tests establish each condition. Plan for a controlled comparison at the same brightness and content settings, then keep photos and the technician’s findings with the case. This avoids judging a replacement from two images shot with different camera exposure.
5. Build a Claim Workflow Your Crew Can Use
A good LED display warranty is executable by the people who will actually service the wall. Put the claim contact, evidence requirements, approval steps, and return instructions in a one-page handover note. If the factory, reseller, and local installer share responsibility, identify which party opens the ticket and which party authorizes removal. The venue should not need to negotiate that chain during a failure.
01. Capture the fault without changing the evidence
Start with the screen location, cabinet serial number, date, symptoms, and operating conditions. Record whether the issue appears on every input, after a restart, or only at a particular brightness. Take a full-wall image and a close-up, plus a short video if the fault is intermittent. Note the controller and receiving-card versions. Keep the original configuration files before attempting changes. EagerLED’s configuration backup guide covers the difference between receiving-card parameters and screen-connection records.
Before opening a cabinet, obtain the supplier’s approved troubleshooting steps and follow the site’s electrical isolation procedure. EagerLED’s published exclusions include unauthorized disassembly, modification, or repair, as well as damage from incorrect installation, operation, storage, voltage, or environment. Qualified local personnel should confirm the electrical and structural safety of any intervention.
02. Get disposition and logistics in writing
Ask the service team to confirm the case number, approved part, shipping address, packaging method, and whether the faulty component must be returned. If an advance spare is used, record its serial number and what happens to the removed part. Photograph the packed return and keep tracking documents. A verbal instruction to “send the module back” is insufficient when the freight route, customs value, and payer remain unclear.
Close the claim with a functional test on the installed wall. Record the replaced part, updated cabinet map, configuration or calibration changes, and any remaining visual difference. This service history helps with subsequent claims and with the end customer’s maintenance handover. It also makes it easier to distinguish a repeat failure from a new problem.
6. Compare Written Offers on One Sheet
Compare LED display warranty offers with the same project assumptions. A longer period can be less useful than a shorter, clearly funded path to restoration. Request a warranty attachment from each supplier rather than comparing headline years from marketing pages. The attachment should match the exact product, destination, installation method, and purchased spares.
| Term to compare | Evidence to request | Why it changes the decision |
|---|---|---|
| Start date and term | Named trigger and dates for each component | Transit and storage can consume coverage |
| Covered components | Bill-of-materials line items and exclusions | A “whole wall” phrase may omit controllers or modules |
| Pixel and uniformity criteria | Test method, threshold, and remedy | Visual acceptance needs a measurable rule |
| Service model | Remote, depot, local-partner, or on-site scope | The integrator may carry the site labor |
| Freight and customs | Payer for each leg and approved shipping method | International returns can exceed a small part’s value |
| Parts continuity | Spare list, matching policy, and availability statement | Later repairs must fit and match the installed wall |
| Claim route | Contact, evidence, approval, and escalation process | A claim cannot move without an owner |
When two offers differ, calculate the costs that remain with your team. For example, a parts-only plan plus one expected local service visit is a different commercial commitment from a plan with approved on-site labor. Do not invent a failure rate to make a numerical comparison. Instead, quote the actual site visit, access equipment, and freight rates for the project, then describe who would pay them if a covered fault occurred.
If the customer’s contract requires a response guarantee, source it from the supplier or provide a separately priced local support plan that your company can deliver. The manufacturer’s LED display warranty and the integrator’s customer-facing service agreement are related but separate documents. Align the two before signing either one.
7. Protect the System at Project Handover
An LED display warranty does not replace proper operation and maintenance. Hand the customer the approved operating range, cleaning instructions, shutdown procedure, service contacts, and rules for who may open the wall. Keep a copy for your own crew. If a building owner changes the electrical feed, ventilation, or mounting environment after acceptance, document the change and ask the supplier whether it affects coverage.
01. Make the handover pack serviceable
Include the purchase order, signed LED display warranty attachment, serial-number map, as-built drawings, power and data topology, controller settings, cabinet files, calibration backup, spare inventory, acceptance photos, and claims form. Store copies in two controlled locations. Limit edits to authorized technicians and record each change. A missing configuration file can turn a straightforward part swap into a long recommissioning task.
Mark each spare with the matching product and batch information supplied by the manufacturer. Keep it under the storage conditions stated for the product, and test it when the service plan calls for it. EagerLED’s LED screen maintenance plan can help organize inspections after handover; the written LED display warranty remains the source for claim eligibility and remedies.
02. Reconcile the customer promise
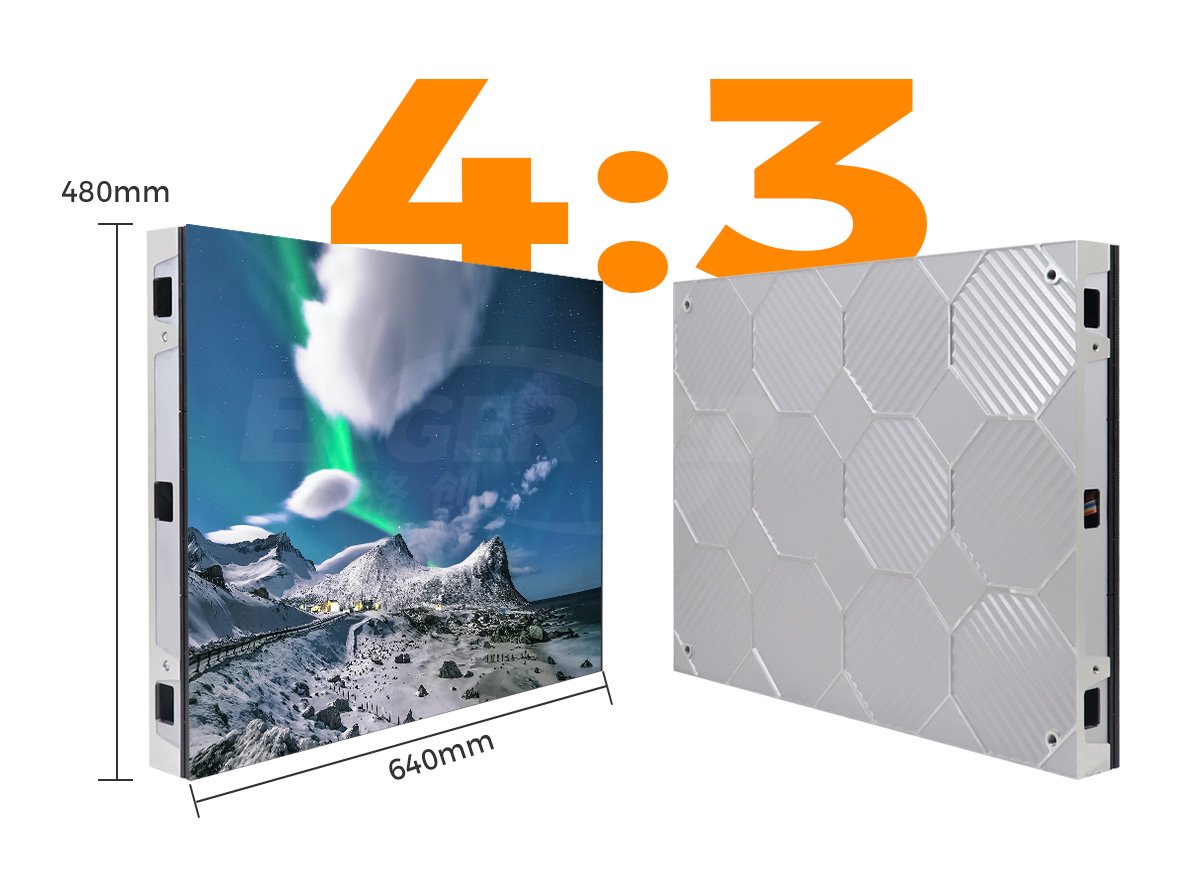
Review the end customer’s required uptime, service hours, and acceptance rules against the supplier’s written terms. Identify any gap that your team will cover with stocked parts, local labor, or a separate service contract. Put that cost in the project estimate. This is especially important for walls used for scheduled events, control functions, or public information, where a replacement part arriving after the event has limited value.
At the end of the project, test the claim contact with a nonurgent service question and confirm that the customer knows the reporting route. Do not promise a specific dispatch or repair time unless it appears in the signed agreement and the responsible party can meet it.
8. Frequently Asked Questions
01. Does a two-year LED display warranty cover every part of the screen?
No. The period and covered components depend on the product’s written terms. EagerLED’s published policy identifies eligible power-supply and receiving-card replacement within two years; obtain the schedule for modules, controllers, cabinets, and other items in your specific order.
02. Does a warranty normally pay for an on-site technician?
Do not assume it does. The contract must state whether diagnosis, travel, labor, access equipment, and recommissioning are included. A free replacement part and a funded site visit are different remedies.
03. What should an integrator do when the wall arrives damaged?
Inspect and photograph the packaging and components on receipt, preserve labels, and use the agreed transport-claim channel promptly. Shipping damage and a later manufacturing-defect claim may have different notice rules.
04. Can a local technician replace a failed module without losing coverage?
Only after checking the product’s service instructions and written authorization. Unauthorized disassembly or repair may be excluded. Ask the supplier to confirm the safe procedure and how the replacement will be registered in the service record.
05. Will a replacement module match the older wall exactly?
Matching is not automatic. Request batch information, compatible spares, calibration files, and a written visual-matching process. Compare the replacement at the same content and brightness settings as the surrounding modules.
06. Does a warranty guarantee that the display will remain operational during a claim?
No guarantee should be inferred from a parts warranty. If downtime has a high cost, price a local spare pool and a support response that the responsible party explicitly agrees to provide.
9. Request Project-Specific Terms
Before placing the order, send the intended wall size, cabinet model, indoor or outdoor site conditions, installation date, service-access plan, destination country, and required spare stock. Ask for a written LED display warranty attachment covering the exact configuration, claim route, and cost split. You can contact EagerLED with your project brief to obtain the applicable product and service terms for review with your customer.