

Indoor LED video wall commissioning verifies that an installed display reproduces the intended image, works with the agreed sources, retains its settings, and can be operated and maintained after handover. A useful acceptance record ties each test to a defined requirement, observed result, and responsible person. A screen showing a promotional video has demonstrated only one operating condition.
This guide is for AV integrators preparing a fixed indoor wall for customer acceptance. It focuses on the period between completed installation and operational handover. Agree on the test conditions before the customer demonstration, including viewing positions, room lighting, content, operating brightness, and any camera requirements.
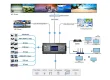
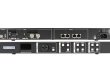
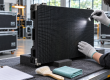
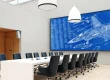
Use the approved project drawings and instructions for the exact display, receiving cards, processor, and software version. EagerLED product images below identify equipment and service features; they are not evidence of a commissioned customer installation. For mounting methods and construction preparation, see the LED video wall installation guide.
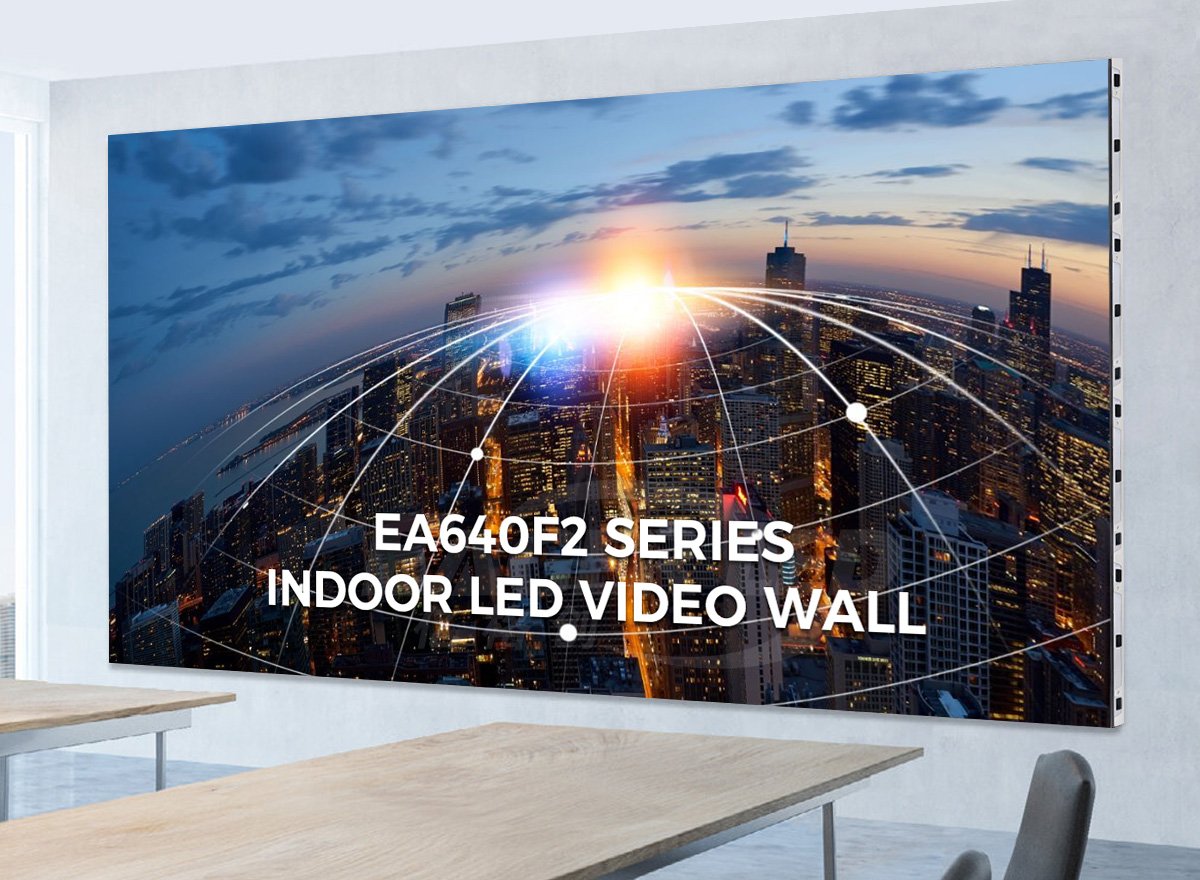
1. Define Indoor LED Video Wall Commissioning Acceptance Conditions
Start with an agreed test schedule that identifies what the customer will accept. Indoor LED video wall commissioning needs criteria specific enough for another technician to repeat the checks. Write down the source, pattern or content, operating mode, expected outcome, and evidence required for each test.
For example, a meeting-room requirement might be that the approved presentation template is readable from identified seats under normal lighting. A camera-facing wall needs a separate test using the actual camera workflow. Neither requirement can be established by a cabinet specification alone. Agree on quantitative limits where the project needs measurements, including the method and suitable instruments.
01. Separate readiness from performance testing
Before energizing equipment, obtain the applicable installation and electrical completion records from the responsible contractors. Confirm that the approved structure, supply, protective measures, ventilation, and access arrangements are ready. The display technician’s picture test does not establish the adequacy of building anchors or electrical protection. Refer unresolved installation conditions to the responsible qualified professional.
02. Assign decisions before the witness session
Name the integrator who conducts testing, the supplier contact for equipment questions, and the customer representative authorized to accept results. For each exception, record whether it prevents use, needs correction before acceptance, or can remain temporarily under an agreed limitation. Do not let an empty result cell imply approval.
Confirm that commissioning attendance, retesting, operator training, and documentation are included in the project scope. EagerLED’s installation cost checklist helps separate these services from the equipment purchase.
2. Establish the Equipment and Configuration Baseline
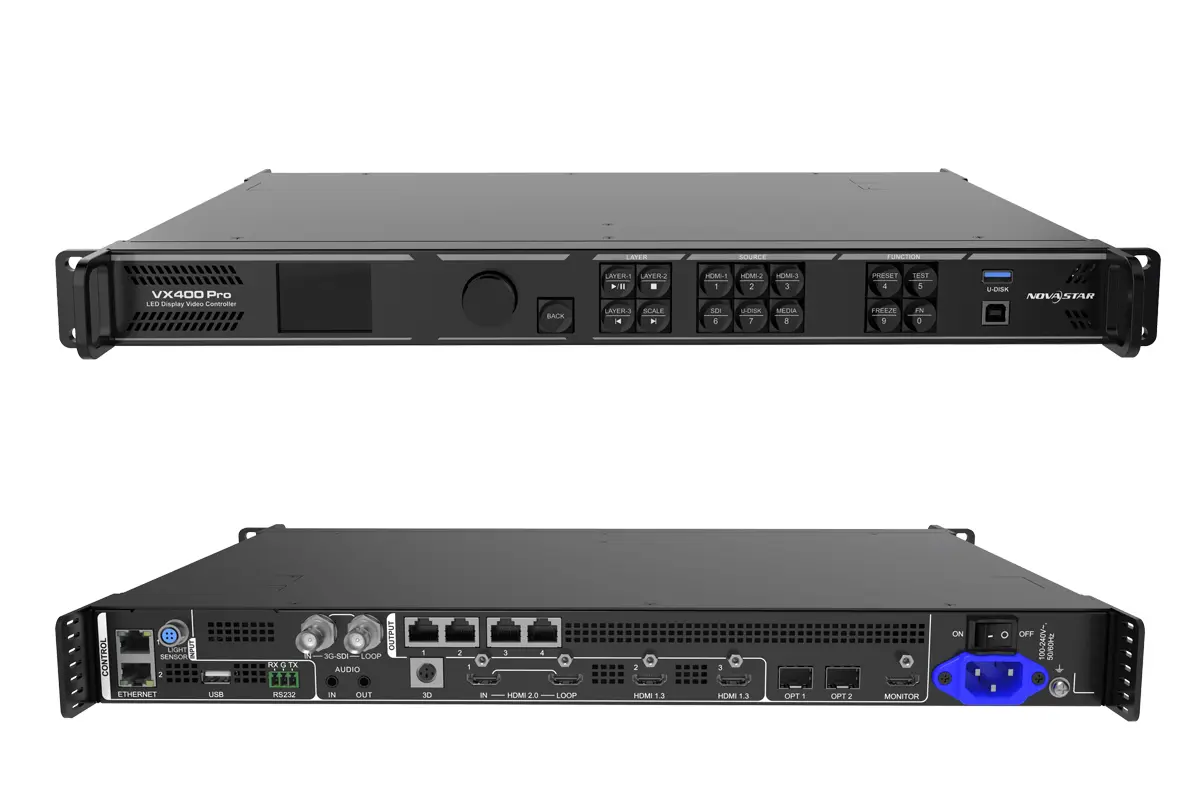
Record what is actually installed before changing settings. Indoor LED video wall commissioning should leave a traceable relationship between the physical wall, its wiring, and the files used to operate it. Identify the cabinet series, pixel pitch, module variant, receiving cards, processor, and relevant firmware and software versions.
Keep a front-view cabinet drawing with a clearly marked origin and row and column labels. Record signal order separately: physical position and cable sequence are related, but they are not the same description. Label accessible cable ends so the drawing can be checked without guessing which output serves a section.
01. Preserve the supplied files
Archive the supplier-approved receiver configuration, screen connection information, and applicable calibration data before adjustment. Keep the original delivery set separate from the accepted site set. Matching cabinet size or pixel pitch does not establish that a receiver file is suitable for another module and driver combination.
NovaStar’s NovaLCT synchronous-control manual, version 5.5.0, distinguishes screen configuration from calibration management. Available functions depend on the connected hardware and software. Identify the correct procedure for the supplied system rather than assuming every installation uses the same file format or menu sequence.
02. Keep geometry and resolution distinct
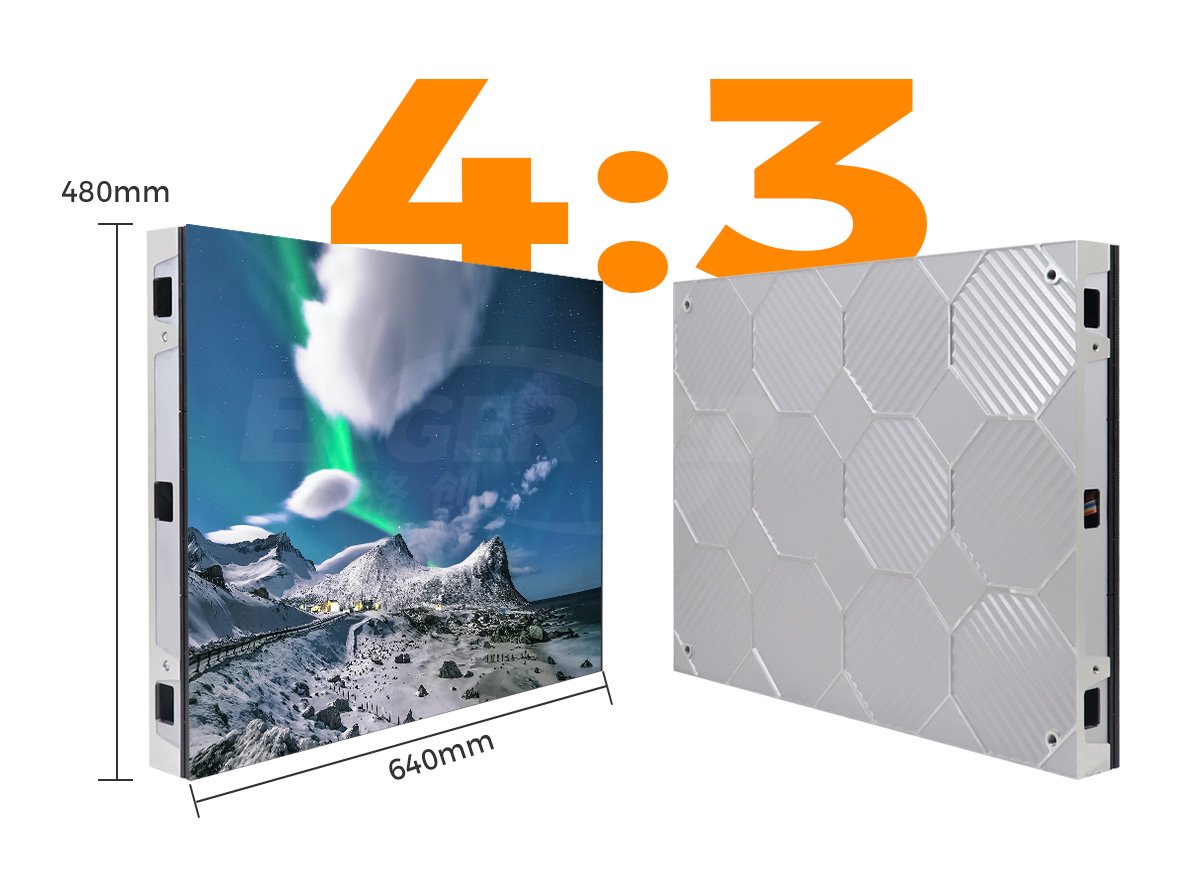
The EA640F2 indoor display uses 640 × 480 mm cabinets, approximately 25.2 × 18.9 in. A four-wide, three-high arrangement measures 2,560 × 1,440 mm, approximately 100.8 × 56.7 in, before surrounding finishes. Those physical dimensions do not specify the pixel resolution; confirm the selected pitch and cabinet pixel dimensions on the approved layout.
3. Verify Mapping and Actual Signal Sources
Indoor LED video wall commissioning should test the display map and the customer signal chain separately. A processor-generated pattern can help check the downstream display path, but it does not prove that a laptop, switcher, conferencing system, or media player delivers the intended picture.
01. Check the entire canvas
Use an approved test image with identifiable corners, borders, and region labels. Confirm orientation, cabinet order, image edges, and continuity across output groups. Compare the displayed labels with the front-view drawing. Record cropped, repeated, missing, or displaced areas before changing the map.
Check source resolution, output canvas, cropping, and scaling as separate settings. If presentation text looks soft, establish where scaling occurs before changing receiver parameters. A native-resolution test file is useful only when the signal chain preserves the intended pixel relationship. Save screenshots of the accepted source and output settings.
For a simple mapping check, prepare a project-specific image that places a different label in every cabinet region and marks the outside border. Its canvas should match the approved wall resolution. A reversed cable sequence, for example, should become visible as an incorrect label order. Keep that file with the final drawing so a service technician can repeat the same check after replacing a component.
02. Build a source-by-source test matrix
Test the devices, adapters, cables, switcher routes, and presets the customer will actually use. Include expected switching and reconnection behavior. The following matrix is a proposed record structure; fill its criteria from the agreed project requirements, rather than treating the examples as guaranteed equipment capabilities.
| Source or operating mode | Test to perform | Evidence to keep |
|---|---|---|
| Presentation laptop | Show the approved slide deck through the installed connection route. | Device and adapter identity, resolution, visible edges, and text review. |
| Room conferencing system | Display the agreed meeting layout and shared content. | Selected room mode, route, layout, and observed switching behavior. |
| Signage player | Run the intended playlist and scheduled transitions. | Playlist revision, schedule settings, playback observations, and restart result. |
| Camera-facing presentation | Record representative content with the production camera settings. | Camera, lens, frame rate, shutter setting, brightness, and sample clips. |
| Source interruption | Use the approved procedure to interrupt and restore the input. | Observed fallback picture, recovery steps, and return to the required source. |
When a test fails, identify the last successful point in the chain. A normal internal pattern with an incorrect external picture directs investigation toward the input route or processing settings; it does not identify a particular failed component. Change one variable at a time and preserve the unsuccessful result with its eventual resolution.
4. Review Image Quality in the Finished Room
Picture review during indoor LED video wall commissioning should combine suitable test patterns with representative customer content. Inspect under agreed room lighting and brightness settings, from the viewing positions used in the acceptance plan. Record those conditions so a later comparison has meaning.
01. Inspect patterns before adjusting the picture
Review solid red, green, blue, white, and black fields, followed by gray steps or ramps supported by the test workflow. Look for localized pixel faults, inconsistent regions, unexpected lines, and visible transitions between cabinets. Record each observation by cabinet and module position, with the pattern and settings that reveal it.
Inspect mechanical alignment as well as displayed color. A visible seam may involve physical alignment, module seating, or image adjustment. Establish the cause before applying correction. Refer physical work to the approved service procedure; do not assume that software adjustment can resolve every boundary artifact.
For brightness or color requirements stated numerically, use an agreed measurement procedure and suitable calibrated instruments. A photograph documents appearance under its exposure settings; it does not establish screen luminance or color accuracy. Keep measured results separate from visual observations and list any test that was not performed.
02. Include the intended low-brightness mode
Run the gray review and real content at the brightness levels the room will use, including its dimmed presentation mode where specified. Check dark backgrounds, gradients, small text, and skin tones in the approved materials. Record settings and observations instead of accepting the wall only at a supplier’s demonstration brightness.
Where calibration is provided, verify its intended state before changing coefficients. Treat receiver configuration, calibration data, and operating brightness as distinct records. Retain the supplied calibration baseline and involve the supplier when a correction would alter factory data or require hardware-specific procedures.
03. Test cameras with the intended workflow
For a wall appearing on camera, check the actual camera position, lens, focus, frame rate, shutter setting, room lighting, and display operating mode. Inspect recordings for visible bands, flicker, moiré, and unacceptable color differences. A published refresh-rate figure does not guarantee an acceptable result for every camera setup.
Record the accepted combination and any limits on its use. If the room has multiple cameras or production modes, test each required combination. This part of indoor LED video wall commissioning should produce repeatable operating settings, not a general claim that the screen is camera-ready.
5. Test Restart and Recovery Before Acceptance
Indoor LED video wall commissioning is incomplete if the wall works only while the setup laptop remains connected. After saving the approved configuration using the applicable manufacturer procedure, carry out a planned normal shutdown and restart. Confirm the correct picture, mapping, brightness, source selection, and required presets return.
Distinguish sending settings to hardware from saving them persistently. NovaLCT’s documented save-to-hardware functions address persistence after power-off, while exported files provide a separate recovery resource. Verify both the running system and the archived package. Menu names and supported operations must be checked against the installed version.
Where redundancy is specified, define the failure being tested and follow the approved manufacturer and site procedure. Record which path was interrupted, the visible effect, and how normal operation was restored. An unused port or second cable does not by itself demonstrate a working backup arrangement.
Agree on an observation period that reflects the intended duty and supplier guidance. Run representative content with the normal room ventilation operating, and log interruptions, alarms, or image changes. Record the duration and conditions. A successful short demonstration establishes that result only; it does not establish long-term reliability.
6. Demonstrate Service Access and Operator Tasks
During indoor LED video wall commissioning, verify service access in the finished room. Furniture, trims, ceiling details, and working height can change the practical access available after construction. Confirm that technicians can reach the required components using the agreed equipment and procedure.
EagerLED describes the EA640F2 as providing front access to modules, power supplies, and receiving cards. That product feature should be checked against the actual installation arrangement. A trained technician should demonstrate the agreed service task using the approved isolation and handling procedure, then confirm correct module seating and picture operation.
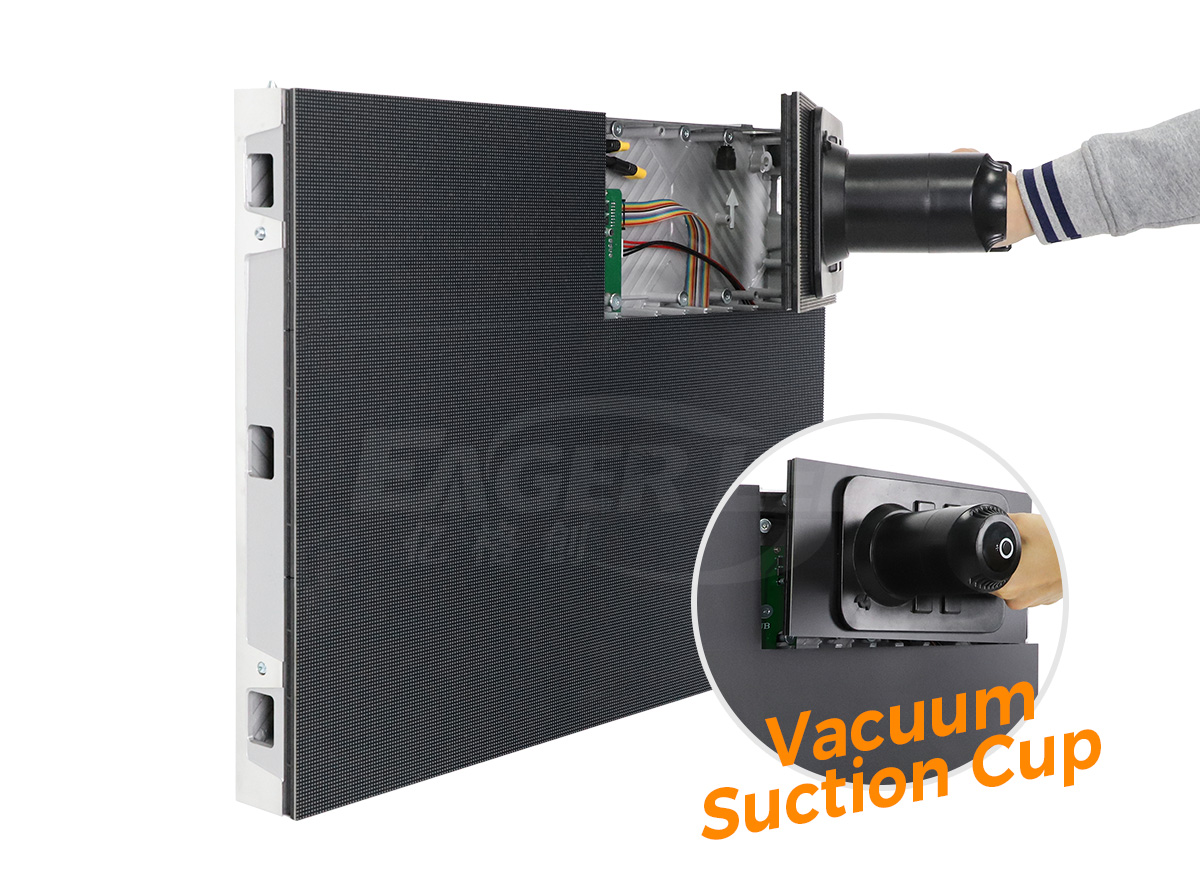
Keep operator training separate from technical maintenance. Ask the operator to start and stop the system, select approved sources, recall presets, and recognize a fault requiring support. Have the operator perform those tasks using the supplied instructions. Explain who is permitted to change configuration files or carry out module replacement.
For a support request, define the information the operator should collect: affected screen region, source, time, operating mode, and a photo or clip when appropriate. Provide the agreed contact route and escalation process. This gives the support team useful evidence without asking untrained staff to open equipment or experiment with receiver settings.
7. Build a Handover Package Another Technician Can Use
The final output of indoor LED video wall commissioning is an accepted system with records that support operation and recovery. Store drawings, settings, results, and unresolved items together under a clear project revision. Identify the accepted version so an old configuration cannot be mistaken for the current one.
| Record | Minimum useful detail | Why it matters later |
|---|---|---|
| As-built cabinet and cable maps | Front-view coordinates, signal order, output assignments, and physical labels. | Locates faults and prevents incorrect reconnection. |
| Accepted configuration package | Hardware identities, software versions, file revisions, and restoration instructions. | Supports recovery without guessing which file belongs to the wall. |
| Calibration and picture settings | Applicable data, enabled modes, accepted brightness settings, and viewing conditions. | Preserves the reference used for picture acceptance. |
| Test and exception register | Criteria, results, evidence references, correction owners, and retest status. | Shows what was verified and what remains unresolved. |
| Spares and service record | Compatible part identities, quantities, storage location, and replacement procedure. | Helps source and install the correct replacement. |
| Operator instructions | Normal startup, shutdown, source selection, fault reporting, and support contacts. | Allows routine use without the commissioning technician present. |
Reconcile the delivered spares with the order and label their intended use. Physical dimensions alone do not prove compatibility. The EA640F2 module image below identifies a mechanical format, not permission to substitute any module of that size. Preserve supplier identification and applicable configuration information with the spare inventory.
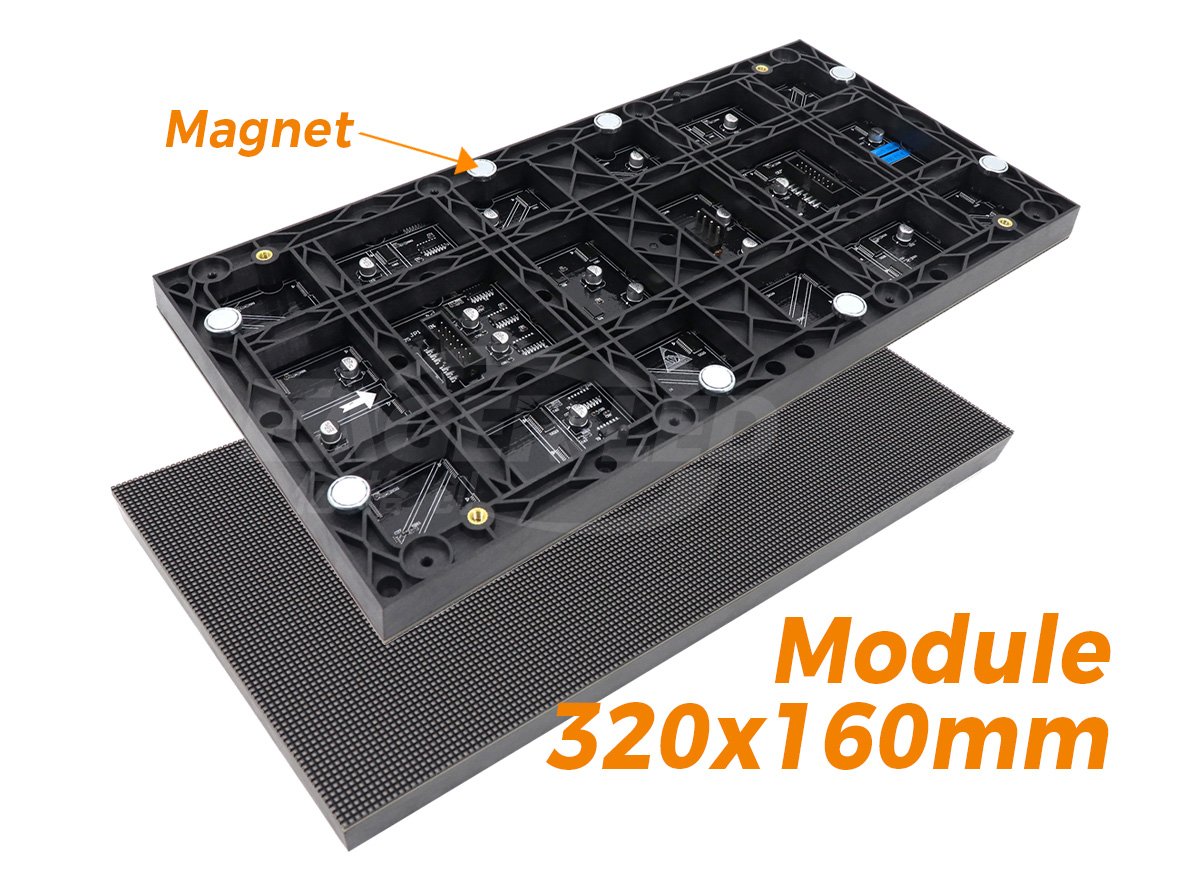
Give every open defect a reference, location, responsible party, action, and review date. Record retest evidence after correction. If the customer accepts a limitation, describe the affected function and agreed next step explicitly. A complete indoor LED video wall commissioning record should make the distinction between passed, failed, deferred, and not-applicable tests visible.
Use descriptive evidence references rather than a folder of unnamed photographs. A test record could identify the cabinet position, presentation preset, source device, lighting condition, and associated image file. Leave the result blank until the test is performed; the example describes a record format, not a completed inspection. When settings change after a successful test, identify which results need repeating and link the new evidence to the revised configuration. Before closing the project, have another team member locate the current files and explain which recovery instructions apply. Missing or ambiguous documents can then be corrected while the commissioning team is still available.
Frequently Asked Questions
01. Does a factory acceptance test replace site commissioning?
No. Factory records are useful inputs, but the finished site introduces its own sources, cable routes, lighting, control integration, and operating procedures. Include the relevant factory evidence in the project file, then test the installed system against the site acceptance plan.
02. What if the customer changes the content after acceptance?
Record the accepted content examples and source settings. Review whether new content changes readability, scaling, brightness expectations, or camera requirements. Agree on the additional checks needed for that change; acceptance of one presentation template does not automatically establish the suitability of every future design.
03. Can commissioning be completed remotely?
Some configuration review and support can be performed remotely, subject to the system and agreed access. Physical inspections, controlled measurements, and service demonstrations still need appropriate people and equipment on site. Assign those tasks explicitly and identify who witnesses and records the results.
04. Should firmware be updated immediately before handover?
Use the version approved for the supplied configuration. If an update is needed, obtain the supplier’s compatibility guidance, preserve recovery files, and allow time to repeat affected tests. Record the final tested version rather than changing firmware after the acceptance evidence has been collected.
05. Can part of a larger wall be accepted first?
Phased acceptance can work when the contract defines the tested area, available functions, temporary conditions, and remaining work. Keep each phase’s records identifiable. Test the completed wall’s shared inputs, full canvas, and recovery behavior when the remaining sections and integrations are ready.
Prepare Your Commissioning Brief with EagerLED
Before ordering, prepare an indoor LED video wall commissioning brief alongside the equipment specification. Include the screen layout, intended content, source devices, viewing positions, room lighting, camera requirements, and service arrangement. Ask for the cabinet information and compatible control configuration needed to build a repeatable test plan.
Review EagerLED’s indoor LED screen solutions, then send your project requirements to EagerLED. Confirm equipment documentation, technical support, local installation responsibilities, and commissioning deliverables in the quotation so the purchasing decision supports a clear handover.