

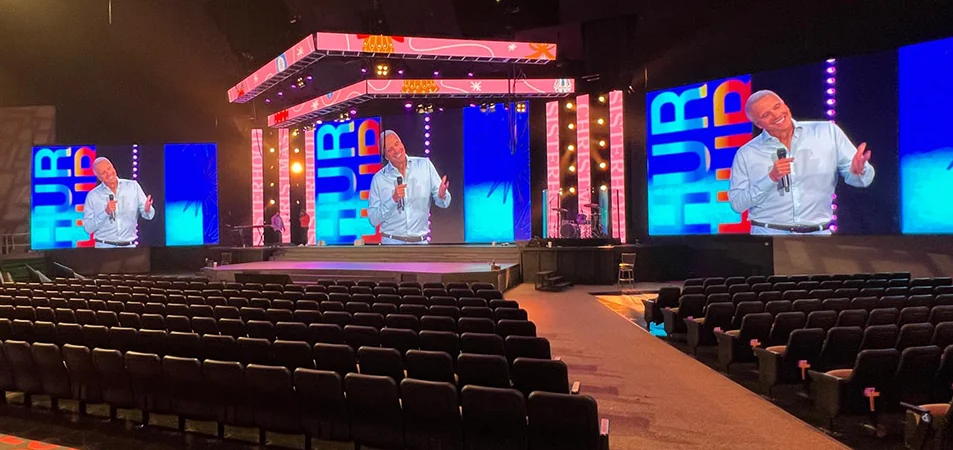
LED screen flickering can come from unstable power, interrupted signals, incorrect panel settings, or the interaction between an LED wall and a camera. The first useful check is whether people can see the disturbance directly or whether it appears only in recorded footage. Those two situations require different investigations.
A wall that looks steady in the room may produce dark bands through a camera. Conversely, a cabinet that repeatedly flashes or drops out can have a hardware problem that no shutter adjustment will repair. Treating both symptoms as a refresh-rate issue can waste commissioning time and conceal the original fault.
For AV integrators, resolving LED screen flickering means identifying the affected part of the system, making a controlled correction, and proving that the result holds under the customer's operating conditions. A clean demonstration with one camera preset is useful evidence, but it does not establish compatibility with every production setup.
This guide focuses on modular, direct-view LED video walls. It provides a practical route from symptom identification to troubleshooting and purchasing checks, helping you address LED screen flickering without confusing display electronics, camera timing, and image artifacts.
1. What Is LED Screen Flickering?
LED screen flickering describes unwanted changes in the visible image over time. These may appear as brightness pulsation, intermittent flashes, unstable lines, or repeated brief interruptions. The term describes a symptom; it does not identify a failed component.
Start with the pattern and location. Does the entire wall pulse together? Does one cabinet flash while its neighbors remain steady? Does a recorded stripe move across an otherwise stable display? Each observation helps narrow the investigation.
Also distinguish flicker from the intended content. A flashing animation, a camera flash within a video, or a programmed brightness transition can look like a display fault. A static test image helps establish whether LED screen flickering originates in the displayed material or persists independently of it.
For a useful service report, replace “the screen looks bad” with an observable description: which area changes, what the change looks like, and when it happens. That gives the next technician a repeatable starting point.
2. Visible Flicker vs. Camera Banding vs. Moiré
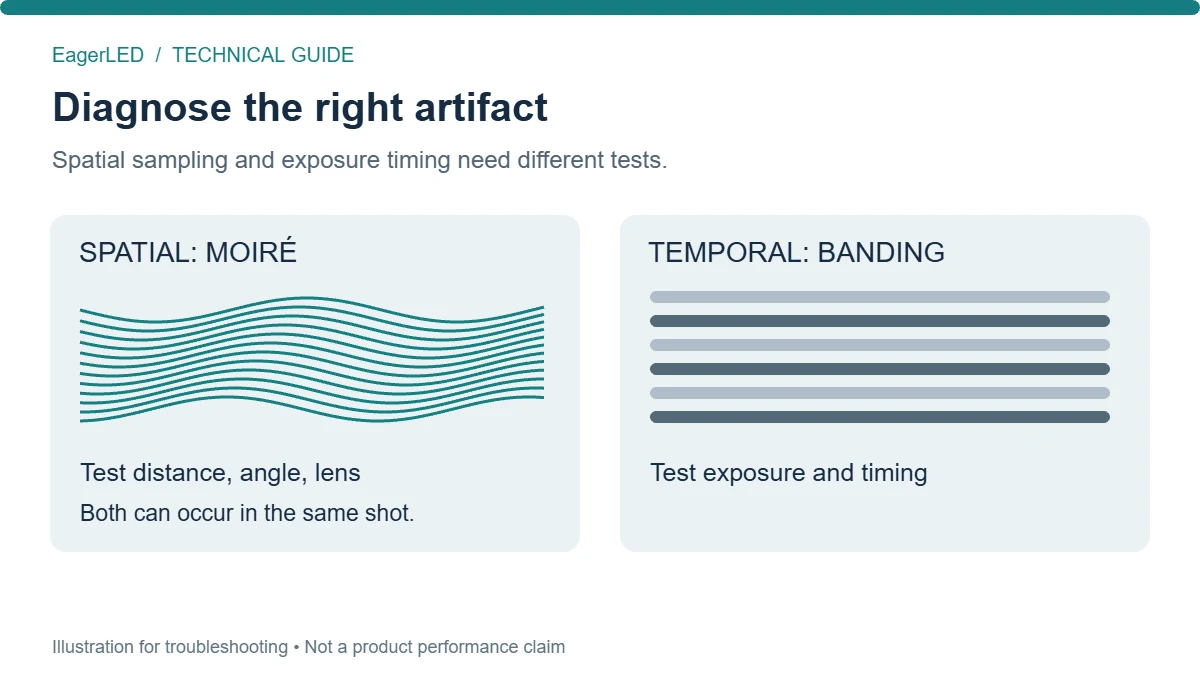
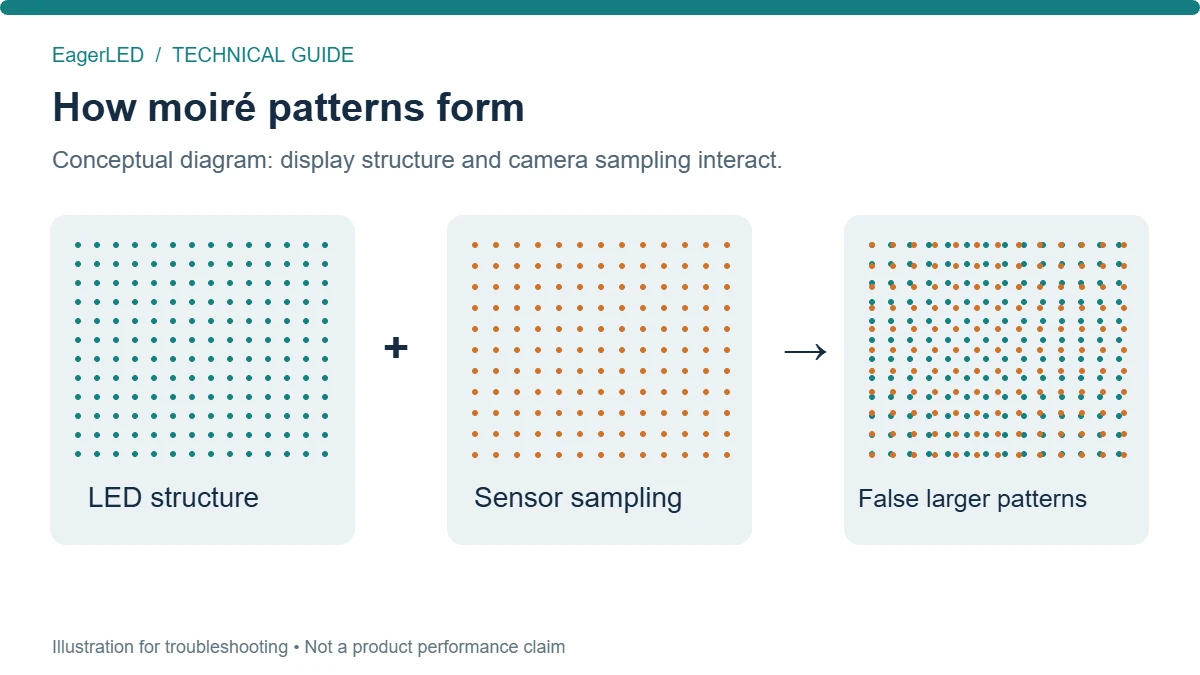
Not every pattern recorded over an LED wall is LED screen flickering. Temporal disturbances concern when light is emitted or captured. Spatial interference concerns how the screen's pixel structure is sampled by the camera.
| Symptom | Typical observation | Useful distinguishing check | Investigation to prioritize |
|---|---|---|---|
| Visible flicker or flashing | Brightness changes can be seen directly | Observe a static image without relying on a camera | Power, signal continuity, configuration, hardware |
| Camera banding | Dark or bright bands appear in recordings | Change exposure timing while holding the composition fixed | Exposure, panel driving, synchronization |
| Moiré | Fine waves, meshes, or false-color patterns appear | Change framing, focus, or camera angle | Pixel-grid sampling and optical setup |
| Video tearing | Moving objects appear split along a boundary | Compare source timing and synchronized playback | Frame presentation and processing |
These checks are diagnostic clues, not conclusive component tests. More than one artifact can exist in the same shot.
For example, changing the lens position may reduce a mesh pattern while leaving horizontal bands unchanged. That indicates two problems requiring separate corrections, rather than a single adjustment that has only partly worked.
A report of LED screen flickering should therefore include both a direct-view observation and a recording. When spatial patterns dominate, use the separate guide to moiré on LED screens to investigate camera position and pixel sampling.
3. What Causes an LED Video Wall to Flicker?
01. Power instability and deteriorating connections
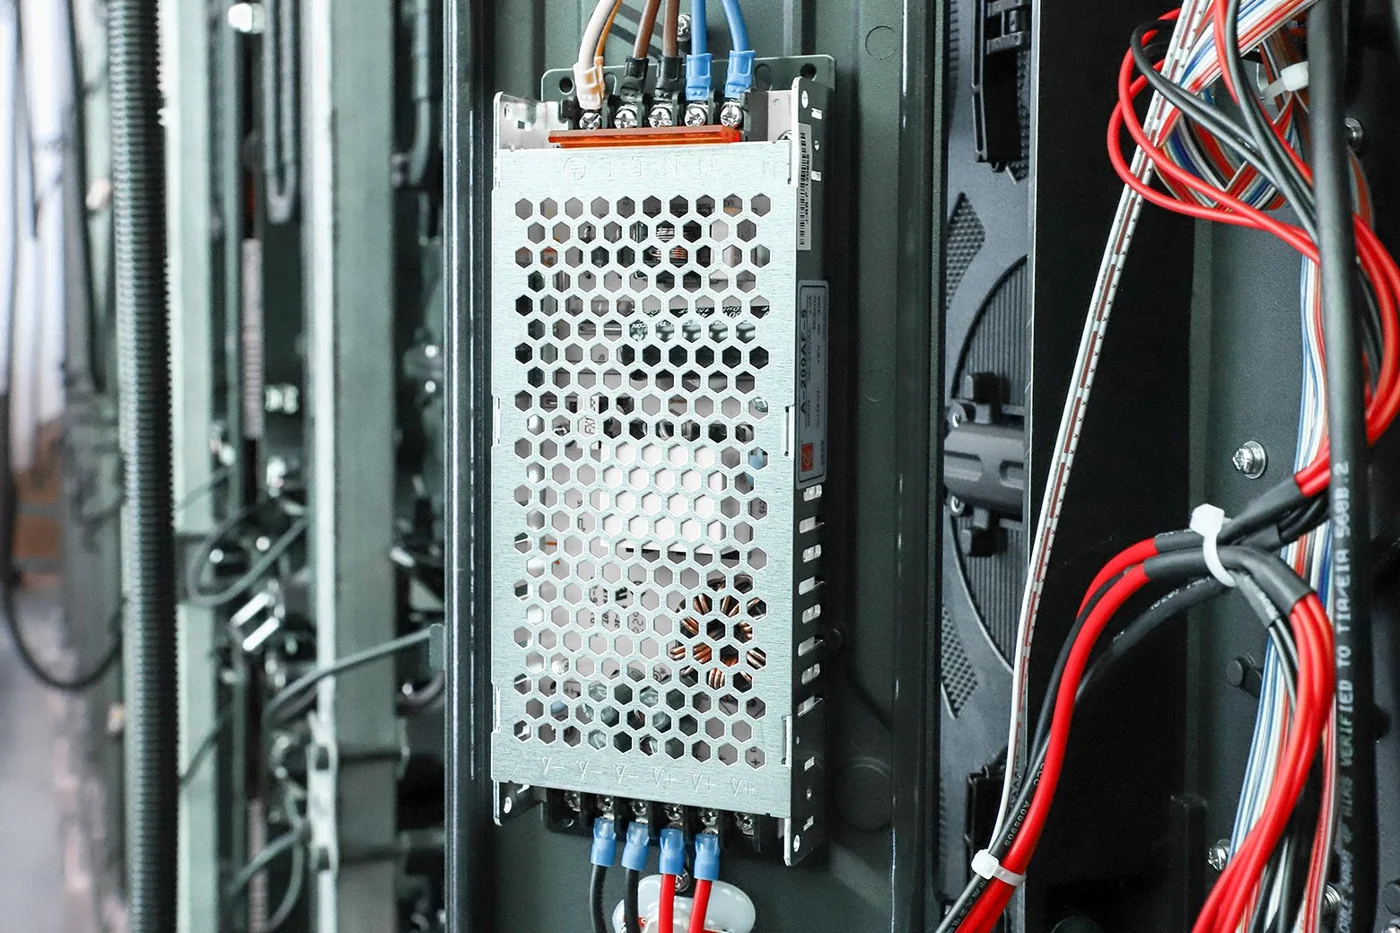
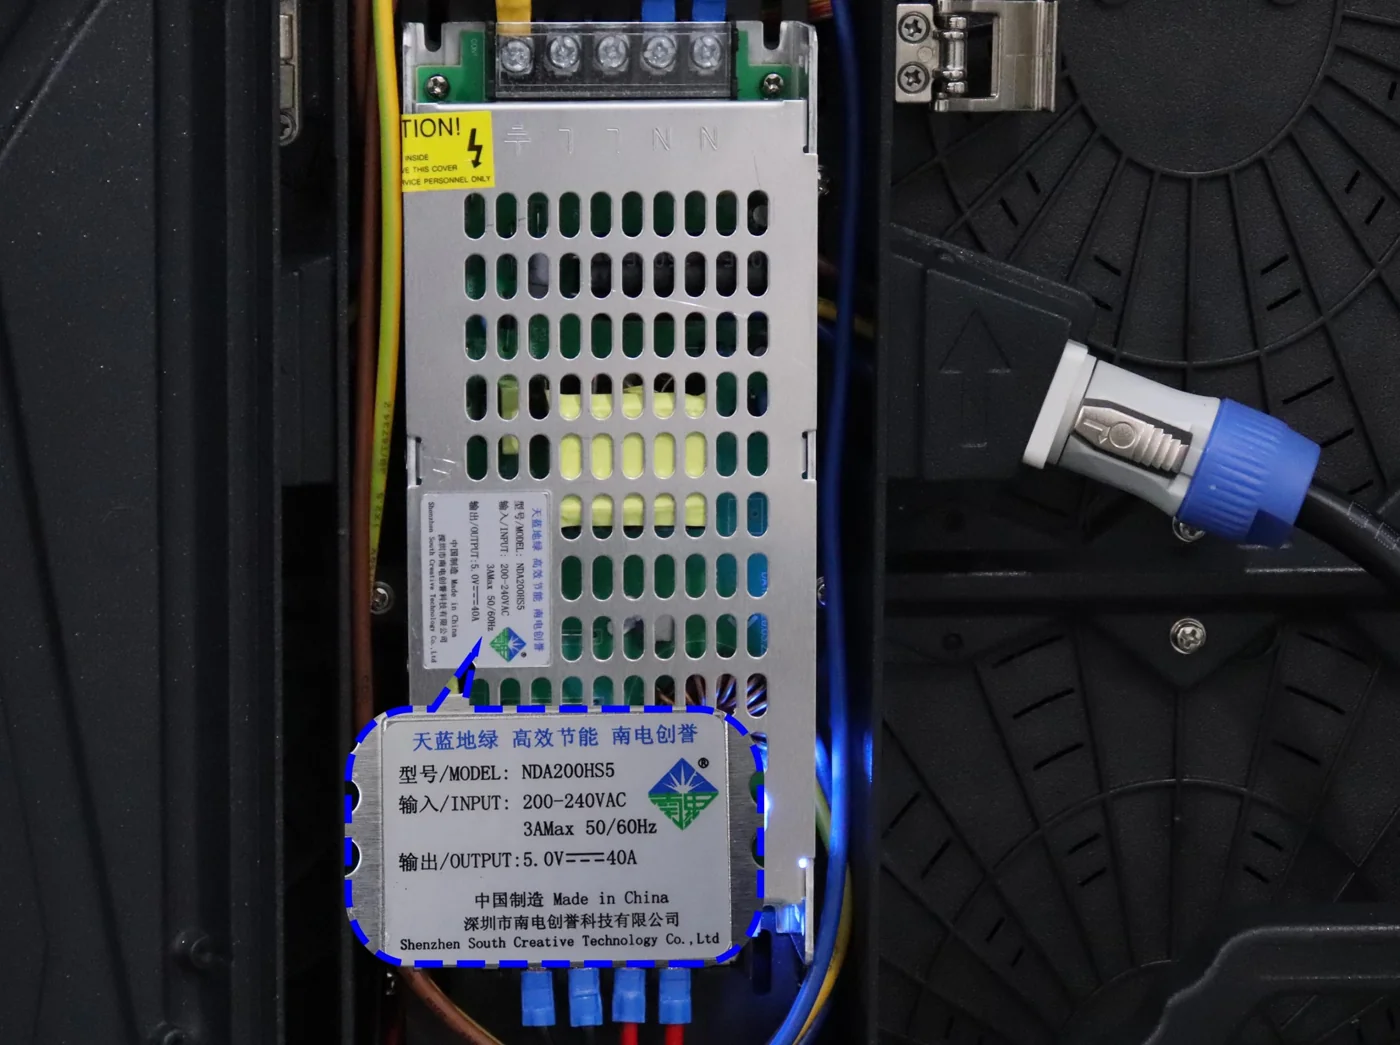
A power problem may affect one module, a cabinet, or several cabinets sharing a supply path. Loose connections, damaged contacts, unsuitable replacement supplies, or inadequate delivery under load can produce unstable operation.
If LED screen flickering appears when brighter content plays, record that relationship. It is a reason to investigate load-dependent behavior, not proof that a particular power supply has failed. Qualified technicians should assess the circuit under defined conditions rather than increasing output voltage to conceal the symptom.
EagerLED's LED display power-supply guide explains why voltage, capacity, cooling, and cabinet compatibility must be evaluated together.
02. Signal interruption and configuration mismatch
The image passes through a source, processing equipment, sending outputs, receiving electronics, and module connections. A fault can enter at any stage.
Check whether the disturbance follows an output chain or remains confined to one physical location. A damaged data cable, unreliable connector, incorrect receiving-card file, or mismatched replacement module can produce similar-looking symptoms. Port capacity and signal format must also remain within the supported configuration.
LED screen flickering that begins immediately after maintenance deserves a review of what changed: parts, wiring, firmware, saved parameters, or calibration data. Do not assume the newest component is correct simply because it powers on.
03. Heat-related behavior and camera interaction
A fault that appears only after operation may involve temperature, a deteriorating connection, or load-dependent electronics. Compare the cold-start condition with the condition at failure; avoid repeatedly restarting the wall before documenting the pattern.
When LED screen flickering exists only in camera footage, exposure and display timing become a separate branch of the investigation. That branch does not justify changing electrical settings on a wall that otherwise operates correctly.
4. How Refresh Rate, PWM and Scan Ratio Affect Flicker
01. Refresh rate is different from video frame rate
Video frame rate describes how frequently the source presents new pictures. The advertised LED refresh rate describes a different part of the display's driving behavior. A wall specified at 3,840 Hz does not require a 3,840-frame-per-second HDMI source.
These numbers alone cannot predict LED screen flickering. The configured panel, driver electronics, receiving system, brightness, and camera exposure all influence the result. Compare specifications at equivalent operating settings, and distinguish a supported maximum from the mode actually demonstrated. The LED refresh-rate guide provides additional background on this distinction.
02. PWM and multiplexed scanning shape light output
Pulse-width modulation, or PWM, controls light by changing the timing of emission. Depending on the design, current control and other driving techniques may also contribute. Multiplexed panels share driving resources between groups of LEDs and activate those groups in a repeating sequence.
A camera integrates light during a finite exposure. If the exposure captures unequal portions of those sequences, different areas can record different brightness levels. Rolling-shutter readout adds another timing relationship because different sensor rows are exposed at different times.
This explains why LED screen flickering can change when camera settings change even though the video file remains identical. It also explains why a scan-ratio label is insufficient for comparing complete systems.
03. Check the operating mode, not just the brochure
Ask which brightness, grayscale, scan, and refresh settings were used for the sample. A panel should be assessed with those settings documented, especially when several hardware revisions are being supplied.
Avoid borrowing parameters from another module to pursue a higher number. A configuration must match the supported electronics and preserve acceptable image quality, stability, and serviceability.
5. How to Diagnose Flickering Before Changing Settings
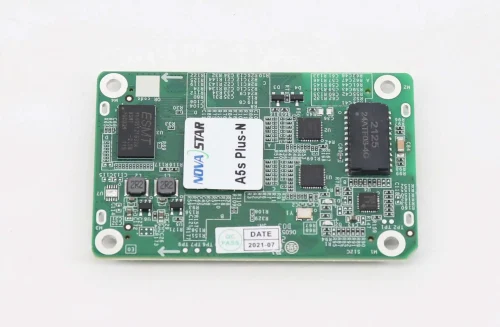
Begin an LED screen flickering investigation with a record of the existing state. Save the supported configuration, identify the connected hardware, and photograph the wiring arrangement before making changes.
If the current state is faulty, label it accordingly and retain the last accepted backup separately. For applicable systems, follow the NovaLCT backup and recovery guidance. A configuration export is useful only when its hardware and purpose are identifiable.
Next, use a controlled test sequence. Record the input format, brightness, affected area, operating duration, and camera settings where relevant. Change one variable, observe the result, and restore the baseline before testing an unrelated variable.
| Test | What to observe | What the result can indicate | Important limitation |
|---|---|---|---|
| Replace moving content with a static image | Does the disturbance remain? | Whether content contributes | A static image may change electrical load |
| Try a verified alternative source | Does the symptom follow the source? | A source or input-path issue | Preserve the same output format where possible |
| Use a supported controller test pattern | Is the wall stable without external video? | A fault upstream of that test point | Downstream processing remains involved |
| Use supported receiving-card patterns | Does the affected cabinet still misbehave? | A more local panel, power, or configuration issue | Test capability varies by system |
| Substitute one approved cable | Does the fault move or disappear? | A connection-related cause | Keep routing and test conditions documented |
A negative result matters. If LED screen flickering remains on an internal pattern, repeatedly replacing the media player is unlikely to be productive. If internal patterns are stable, investigate the excluded part of the chain before disturbing the cabinets.
Consider this hypothetical LED screen flickering test: internal patterns remain stable, but a presentation flashes after passing through a switcher. Connecting the same source directly to the controller removes the symptom. That narrows attention to the bypassed path; it does not prove the switcher is defective. The direct connection may have negotiated a different video format. Compare the formats, then reintroduce the switcher and its cables individually where the system permits. Record the result of each change. This produces a testable explanation instead of an unnecessary cabinet replacement.
6. How to Fix LED Screen Flickering Visible to the Naked Eye
01. Correct verified power and connection problems
Arrange safe isolation before hands-on work inside cabinets. Supply measurements and electrical repairs belong with qualified personnel using the manufacturer's procedures. Water damage, overheating evidence, or repeated protective trips require investigation before restart.
Where LED screen flickering has been traced to a connection, repair or replace the affected part with an approved equivalent. A temporary improvement after moving a cable is not a durable repair; inspect its contacts, retention, strain relief, and routing.
For power-related faults, evaluate the complete branch. Replacing a supply will not correct an unsuitable cable or damaged connector downstream. Do not bypass protection or increase voltage as a general remedy.
02. Restore a compatible configuration
Compare the installed receiving card, module identification, and approved parameter file. If a service change introduced the problem, restore the validated configuration through the correct model-specific workflow.
Do not perform a whole-wall factory reset merely because one cabinet flickers. Preserve mapping and calibration records, and send changes only to the intended devices. A configuration that works briefly must still be saved and verified through the supported restart procedure.
03. Verify the correction under the original trigger
Repeat the condition that produced LED screen flickering: the same source transition, content sequence, brightness, or operating period. Then check a representative selection of other normal conditions.
If the original symptom was actually repeated blackout, follow the LED black-screen troubleshooting guide for the corresponding signal and power checks.
Close the service record with the identified cause, changed component or setting, verification conditions, and remaining limitations. “No LED screen flickering during the recorded test” is a defensible observation. “The screen will never flicker again” is not.
7. How to Reduce LED Wall Banding on Camera
01. Establish a reproducible recording setup
For LED screen flickering on camera, begin with the production camera and intended recording mode. Record frame rate, shutter speed or angle, sensor mode, lens, exposure, wall brightness, and processor configuration.
Disable automatic exposure changes where the camera workflow allows. Otherwise, an automatic shutter adjustment can change the artifact while you are testing an unrelated setting. Inspect the original recording, not only a small viewfinder or a compressed messaging-app clip.
02. Adjust exposure with the production requirement in mind
Test supported shutter adjustments while keeping other settings fixed. Some cameras offer fine shutter control for suppressing bands that remain at conventional settings.
Shutter angle and shutter speed describe the same exposure interval in different ways. As a calculation example, a 180-degree shutter at 25 frames per second exposes for 1/50 second. At 50 frames per second, the same angle gives 1/100 second. Neither value is a universal LED-wall setting.
A longer exposure may reduce band visibility but changes motion blur. A shorter exposure may suit fast action while revealing panel scanning. Choose a result that satisfies both the photographed subject and the background.
03. Verify synchronization and phase where supported
Compatible cameras and LED processors can use a coordinated reference arrangement. Confirm the selected reference, actual lock status, and supported frame-rate relationship rather than relying on matching menu labels.
Phase adjustment changes when the screen presents its output relative to the reference. Supported shutter-matching functions can further adjust panel driving for camera exposure, but availability depends on the processor, receiving electronics, panel design, and software.
Do not promise that these controls will eliminate LED screen flickering in every shot. Test the complete system after each adjustment, including the camera movements and exposure settings required by production.
04. Recheck spatial artifacts separately
If waves or false-color meshes remain, revisit focus, focal length, framing, and distance. Timing changes cannot be assumed to remove spatial moiré.
For LED screen flickering across multiple cameras, retain a test result for each camera and required mode. A setup accepted for a locked-off wide shot may need further work for a close-up, moving camera, or high-frame-rate sequence.
8. High Refresh Rates and Genlock: Benefits and Limitations
Higher refresh capability and synchronization are valuable tools, but they address different parts of LED screen flickering. Their usefulness depends on the complete operating configuration, not on a feature appearing in a quotation.
| Control or feature | Potential benefit | What it does not establish | Procurement check |
|---|---|---|---|
| Higher panel refresh capability | More flexibility for some camera exposures | Freedom from every scan artifact | Demonstrate the required camera modes |
| Genlock | Coordinated timing between compatible devices | Elimination of every PWM or scanning artifact | Verify reference support and lock behavior |
| Phase adjustment | Changes the timing position of display output | Repair of power or data faults | Record the accepted offset and configuration |
| Shutter-matching functions | Align supported panel driving with exposure requirements | Availability on every panel and processor | Confirm the complete supported hardware combination |
| Fine camera shutter adjustment | Reduces certain recorded bands | Preservation of every desired motion-blur setting | Approve the resulting footage with production |
The purchasing question is whether the proposed combination can deliver the intended shots while maintaining acceptable brightness, grayscale, motion, and operation. Request demonstrations at the actual working brightness, not only the brightest setting.
Also keep latency separate. A wall can show a stable picture while delaying a live camera feed. Where that matters, evaluate the complete signal chain using the LED display latency guide.
An LED screen flickering requirement should therefore describe the test conditions and acceptable result. A specification that asks only for the highest refresh number leaves too much of the production requirement undefined.
9. How to Choose and Test an LED Wall for Events and Studios
Give suppliers a short operating brief before requesting a sample. Include the wall dimensions, pixel requirements, viewing distances, content sources, camera models, recording modes, brightness range, and installation environment.
Turn LED screen flickering into an acceptance task with an owner, a test method, and retained evidence. The integrator should coordinate the supplier and camera team so each party tests the same proposed configuration.
| Test area | Conditions to include | Evidence to retain | Acceptance decision |
|---|---|---|---|
| Direct viewing | Static colors, gray patterns, representative content | Symptom notes and cabinet-location record | No unexplained flashing or interruptions under agreed conditions |
| Camera capture | Required frame rates, shutters, sensor modes, and lenses | Original clips with settings | Footage approved at the intended delivery resolution |
| Low-brightness operation | Actual dimmed presets and dark content | Recorded presets and comparison clips | Acceptable stability and tonal reproduction |
| Operational transitions | Input changes, playback restart, supported power sequence | Event log and recovery observations | Agreed recovery behavior without unexpected persistent faults |
| Sustained operation | Project-defined duration and load sequence | Operating conditions and incident log | Stable operation within the agreed test scope |
| Service replacement | Approved spare installed using the documented procedure | Part identity, configuration, verification result | Restored appearance and operation accepted |
For live events, emphasize source changes and recorded performance during the show sequence. For studios, test the planned camera modes and darker backgrounds. For permanent installations, include the scheduled content changes and restart procedure used by operators.
Require approval of the actual supplied configuration. If a different receiver, module revision, or processor is substituted later, assess whether the accepted tests must be repeated. Identical cabinet dimensions do not prove identical camera behavior.
The purchase record should state who investigates LED screen flickering when it involves both the display and third-party camera equipment. Agree on escalation contacts, accessible settings, configuration ownership, and the information needed for remote support.
Keep original test clips with the equipment schedule and handover files. This makes later comparisons useful: a technician can determine whether LED screen flickering is newly introduced or occurs outside the originally approved operating conditions.
10. FAQ
01. Can a smartphone slow-motion video prove that an LED wall is faulty?
No. A phone can reveal LED screen flickering or banding under its particular capture conditions, but automatic exposure and sensor readout can complicate interpretation. Retain the clip as evidence, record the mode, and repeat the test with the agreed production camera. Phone footage alone should not replace a defined acceptance test.
02. Can room lighting make a recording appear to show a screen problem?
Yes. Other modulated light sources can affect the scene or reflect from display surfaces. If practical, compare recordings with those fixtures controlled separately while preserving the camera settings. Check whether the disturbance appears on people and surrounding objects as well as the screen before assigning it to the LED wall.
03. Why did flickering start after replacing just one module?
The replacement may differ in driver electronics, scan configuration, revision, or required settings, even when its size and pixel pitch match. A disturbed connector is another possibility. Compare the approved parts information and replacement procedure first; changing the entire wall's refresh setting may hide the local issue without resolving compatibility.
04. Should I update firmware immediately to fix LED screen flickering?
Only when there is a documented reason and a supported update path for the installed combination. Record the current versions, preserve recoverable settings, and confirm compatibility before proceeding. Schedule validation time after the update. An unplanned firmware change can introduce another variable and make the original fault harder to isolate.
05. Why does the livestream flicker when the camera's local recording is clean?
Compare the signal paths after the camera. The local file and streamed output may use different formats, processing, scaling, or frame-rate conversion. Check the camera output, capture device, switcher, encoder, and final player in sequence. Retain short samples at each accessible stage rather than assuming the LED panels must be changed.
06. Does a global-shutter camera eliminate every LED artifact?
No. Simultaneous exposure across sensor rows removes the rolling-readout difference, but the camera still captures light over a finite interval. Panel emission timing can remain relevant, and spatial moiré can still occur. Test the proposed camera mode with the actual display instead of treating sensor type as a blanket compatibility guarantee.
07. Is LED screen flickering automatically covered by warranty?
Coverage depends on the agreed warranty, the identified cause, and the supplied equipment's documented operating conditions. A reproducible hardware fault and a camera incompatibility outside the accepted test scope are different claims. Preserve original recordings, model labels, settings, and service history so the supplier can evaluate the issue against the agreement.
08. Can post-production deflicker software replace a hardware fix?
It may improve some recorded material, but it cannot restore reliable operation to a failing display or guarantee clean live output. Processing can also alter detail or motion. Assess it as a footage-recovery option for an existing recording; correct and retest the underlying system before the next production.
11. Conclusion
The most useful response to LED screen flickering is a controlled diagnosis: identify who sees the symptom, locate where it enters the system, and test a correction under the conditions that originally produced it. Keep direct-view hardware faults separate from camera timing and spatial interference.
For a new purchase, replace an unqualified “flicker-free” promise with documented camera modes, brightness presets, test footage, and a clear acceptance process. That gives both the buyer and supplier a practical basis for evaluating performance.
If you are investigating LED screen flickering or specifying a camera-facing wall, contact EagerLED with the screen layout, controller and module details, camera settings, affected area, and original video. Those records support a focused technical review and a proposal matched to the installation.